How to install homepage via Portainer on your Synology NAS
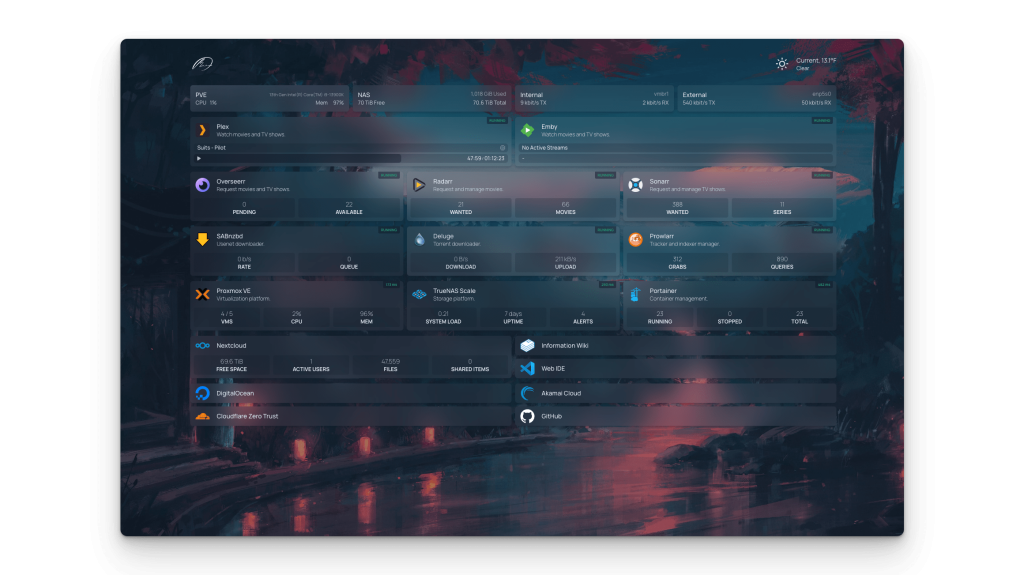
homepage is a modern, fully static, fast, secure fully proxied, highly customizable application dashboard with integrations for over 100 services and translations into multiple languages. Easily configured via YAML files or through docker label discovery. Source: https://gethomepage.dev/

Today we’ll look at how to install homepage on your Synology NAS as a Docker container using Portainer. Firstly you need to install Docker and Portainer before proceeding to the next steps. You’ll need a compatible Synology NAS that supports Docker and typically this is offered on their “plus” series and beyond. If you already have one of these NAS products, then read on. Our testing is being done on a Synology DS723+.
Step 1 and Step 2
This would be to install Docker and Portainer on your Synology NAS. Follow the steps 1 and 2 given on our article for installing Photoprism here. https://technoyard.com/2023/06/02/install-photoprism-with-mariadb-on-synology-nas-replacement-for-synology-photos/
Step 3 : Create the required folders
- Open File station on your Synology NAS
- Create a folder “hompage” inside the “docker” folder created in the previous step.
Step 4 : Create the homepage stack on Portainer
- Open Portainer by going to http://your NAS IP:9000 and login
- Click on Home and click on “Stacks”

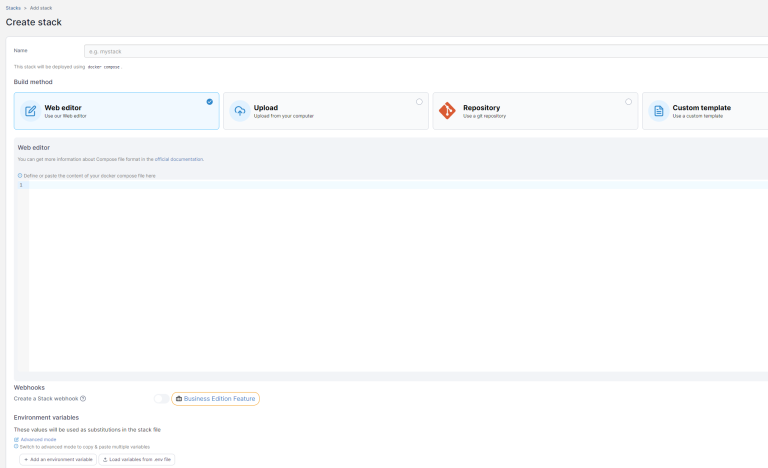
- Click on “Add Stack” from the top right hand corner.
- You will get the following window
- Enter “homepage” as the Name

Copy paste the below code into the web editor window. (Copy the code from exactly from the code block or you will get syntax errors)
version: "3.3"
services:
  homepage:
    image: ghcr.io/gethomepage/homepage:latest
    container_name: homepage
    ports:
      - 4560:3000
    volumes:
      - /volume1/docker/homepage:/app/config # Make sure the folder exists
      - /var/run/docker.sock:/var/run/docker.sock:ro #
    restart: unless-stopped
Note: The port “4560” can be updated to any other free port if it’s already being used.
Step 5 : Deployment
If no syntax errors are shown in the web editor, you can now proceed to deploy the above docker compose file.
- Click on “Deploy the stack” button at the bottom of the screen.

If no errors are found, you will now see the homepage container running under the homepage stack. Give it around 5 minutes to download the files and for the application to be available.

Step 6 : Testing
Now go to http://Your NAP IP:4560 and it will bring up the default homepage view. There are many configuration changes you can make now that you have the default setup complete.
All configuration changes are made via the YAML files located in the /docker/homepage folder we created in step 3. https://gethomepage.dev/ has a comprehensive documentation on how to update each of these files to get the best outcome that serves you.

As a basic guide, here’s a sample from our widgets.yaml file to show the resources, time and default search engine shown in the homepage.
- resources:
    cpu: true
    memory: true
    disk: /

- search:
    provider: google
    target: _blank

- datetime:
    text_size: xl
    format:
      timeStyle: short
