Terramaster F2-212 NAS Review
While a relative new comer to the market Terramaster seems to have made decent strides in the recent past on their NAS offerings. Today we bring to you one of their latest budget offerings; the Terramaster F2-212 NAS. Retailing around AU$280 the Terramaster F2-212 is undoubtedly one of the cheapest 2 bay NAS products in the market and ideally suited for the budget conscious user. Lets take a closer look at the device and see if it lives upto current market expectations.
Specifications
| Processor Model | Realtek 1619B |
| Processor Architecture | ARM V8.2 Cortex-A55 64-bit |
| Processor Frequency | Quad Core 1.7 GHz |
| System Memory | 1 GB DDR4 non-ECC |
| Compatible Drive types | 3.5″ SATA HDD, 2.5″ SATA HDD, 2.5″ SATA SSD |
| Maximum Internal Raw Storage Capacity | 44 TB (22 TB x2) (Capacity may vary by RAID types) |
| Drive Hot Swap | Y |
| Internal Drive | Btrfs, EXT4 |
| External Drive | EXT3, EXT4, NTFS, FAT32, HFS+ |
| RJ-45 1GbE Network Jack | 1 |
| USB3.0 Host Port | 1 |
| USB2.0 Host Port | 1 |
| Size (HWD) | 222 x 119 x 154 mm |
| Weight | Net Weight: 1.3 Kg Gross Weight: 2.1 Kg |
| System Fan | 80 x 80 x 25mm 1PCS |
| Fan Mode | Smart, High speed, Middle speed, Low speed |
| Noise Level | 19.0 dB(A) (Using 2 SATA HDD/SSD in standby state) |
| Power Supply | 40W |
| Power Consumption | – 20.1W(Fully loaded Seagate 4TB ST4000VN008 hard drive(s) in read/write state) – 10.4 W (Fully loaded Seagate 4TB ST4000VN008 hard drive(s) in hibernation) |
| Limited warranty | 2 Years |
| Working Temperature | 0°C ~ 40°C (32°F ~ 104°F) |
| Package Contents | – Host unit (x1) – Power cord (x1) – Power Adapter(x1) – RJ-45 network cable (x1) – Quick Installation Guide (x1) – Limited Warranty Note(x1) – Screws |
Checking out the specs up there, gotta hand it to Terramaster—they’ve really nailed a sweet combo of hardware at a budget-friendly price. Nice job!
Closer look at the Terramaster F2-212
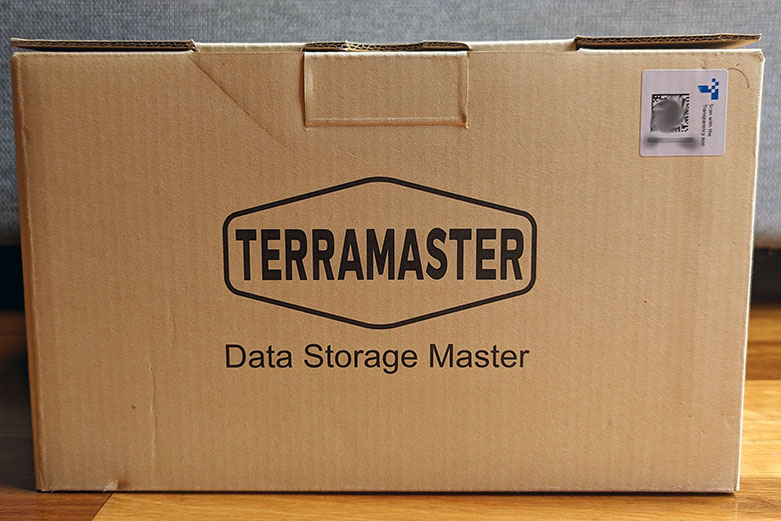
Like most mainstream NAS manfacturers, the Terraster F2-212 is shipped out in a very unasssuming yet minimalistically designed box that offers the very basics to get you started.
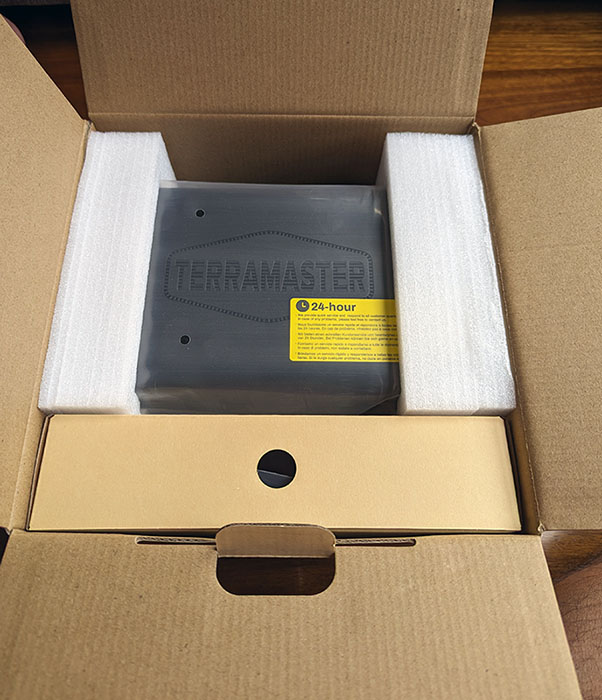
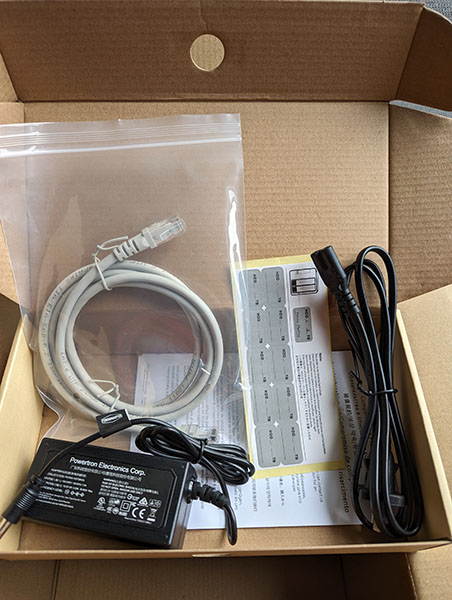
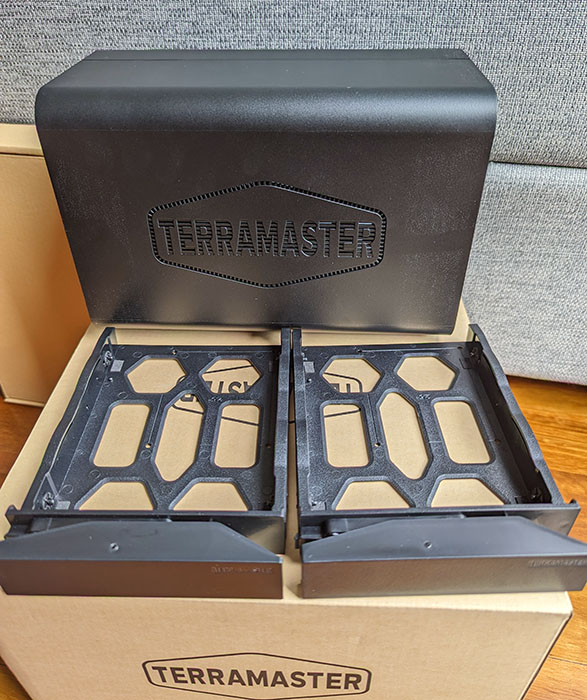
Opening up the box the package consists of the host unit, power cord and adapter, network cable and screws needed for installing a 2.5″ drive into the drive bays. There’s also a quick install guide, warranty note and a set of stickers to label your drives. Not really sure how many people out there would label their NAS drives these days, nonetheless it’s provided with the package if you needed it.
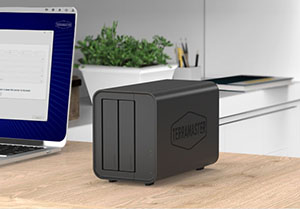
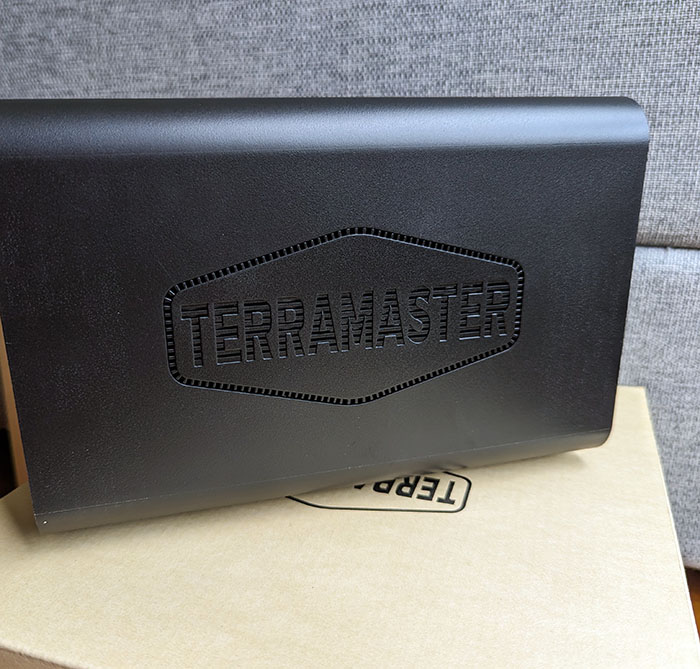
Having reviewed many Synology NAS products, we couldn’t help but see similar design characteristics on the Terramaster F2-212. Looking at the sides, the vented logo design on the sides provides good ventilation for the internal components and assists the 80mm fan in keeping the internals cool.
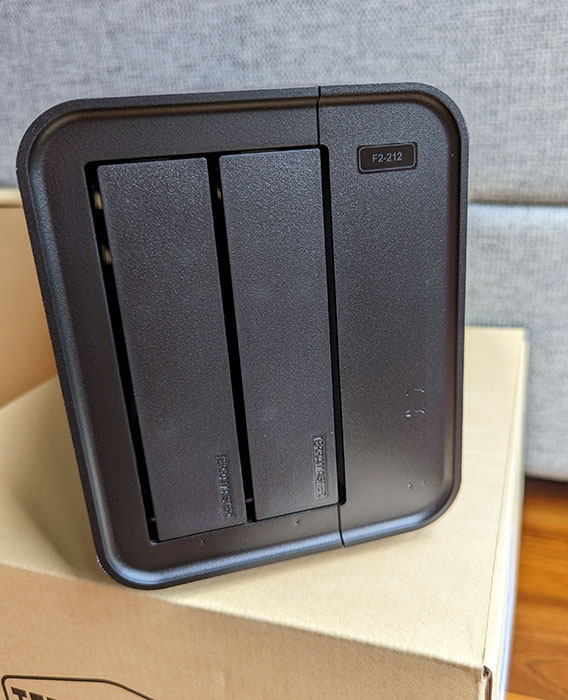
The front of the unit features two hot-swappable drive bays, a feature typically associated with higher-tier NAS products rather than in a value series NAS. The drive bays can be pulled out by pressing the top of each drive bay and pulling them out. The Terramaster F2-212 supports a total of 44TB of storage space should you have the need to upgrade to this level.
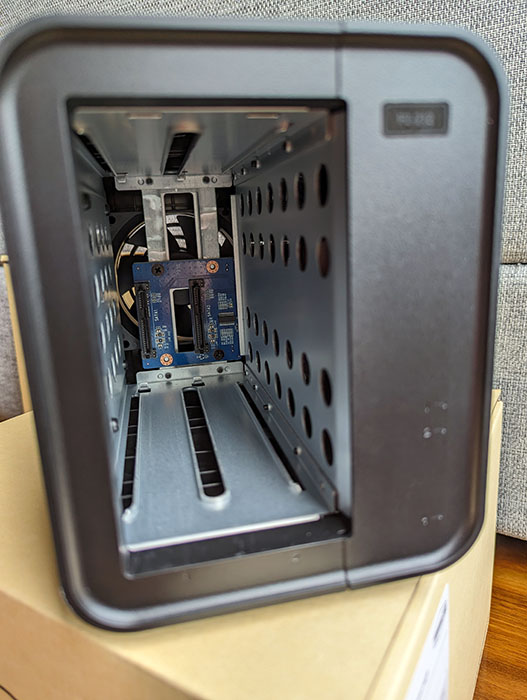
Once the drive trays are pulled out you can see the 80mm fan sitting right behind the drives to draw out the heat generated by the drives.
The front also boasts LED lights for power and hard drive activity. There’s no LED indicator for network status. The LED lights aren’t too bright and has the right balance to not stand out in an enclosure. You do not get the option to adjust the brightness however.
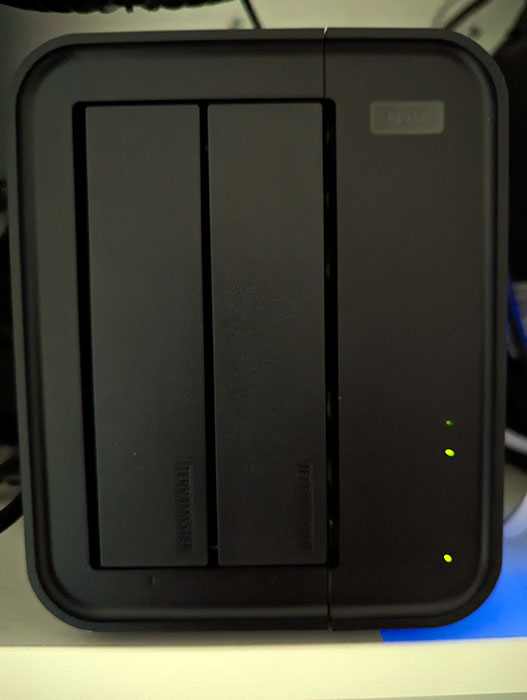
One glaring omission on the Terramaster F2-212 is the lack of a front USB port. This can be quite an incovenience if you want to plug in a USB drive for ad-hoc backups, especially since most folks keep their NAS drives tucked away in some kind of network cabinet.
Moving to the rear of the Terramaster F2-212 you’re offered with 1 x USB 3.0 port, 1 x USB 2.0 port, 1Gbps network port and the power input. I quite like the fact that the power button is set at the rear as this would prevent accidental presses.
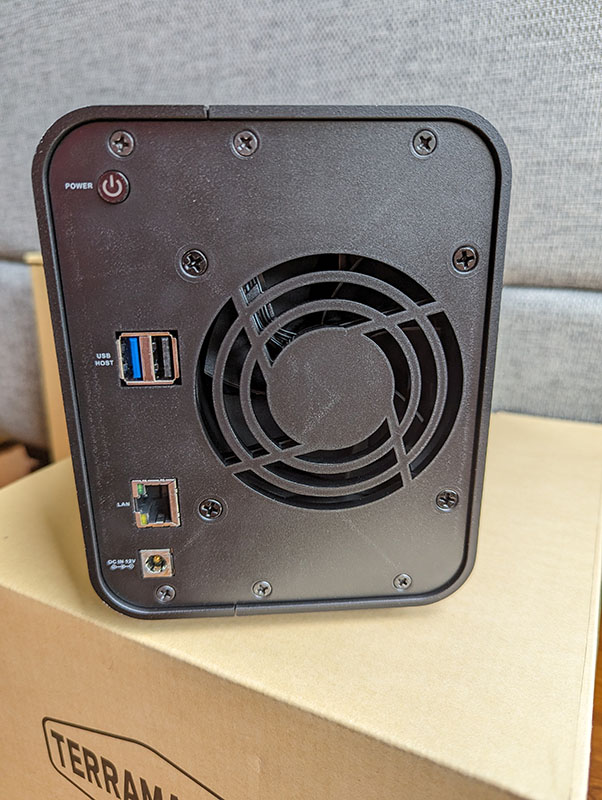
While the Terramaster F2-212 only offers a 1GbE ethernet port, you have the option to plug in a 2.5GbE USB adapater if the need demands it. This is why I like Terramaster since they haven’t set strict restrictions on what hardware can connect to their NASes unlike other mainstream manufacturers.
Initial Setup
Once the drives are installed, and connected to your local LAN, power on the Terramaster F2-212. You can either access the unit’s IP address (If known) or type http://tnas.local/ on your browser and it’ll bring up the initial setup page for the NAS. It’ll show a bootloader loading screen which will guide you through the next steps.

If the NAS is connected to a network with internet access, you can simpyl opt to download the operating system called TOS (most likely abbreviation of Terramaster OS). The installation can take around 10 – 20 minutes to complete since the process also checks the health of the drives before proceeding to install the TOS. The Terramaster F2-212 supports both Btrfs, EXT4 and it’s recommended to go with Btrfs unless you have a compelling reason to go with EXT4.
Flexible RAID options
The unit supports multiple RAID types; TRAID, Single, JBOD, RAID 0, RAID 1. TRAID would be the best option if you want the maximum flexibility, easy storage expansion and redundancy. Similar to Synology Hybrid RAID (SHR) TRAID allows you to install different hard drive capacities while optimizing the space to best suite your needs.
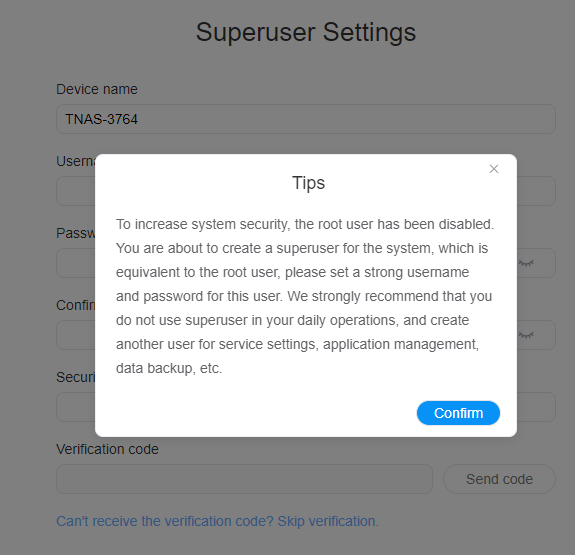
At the final stage, you’ll be prompted to create a Super user to login to the system. If the unit is connected to the internet, you also can enter your email address to create a backup login in case you forget your Superuser password.
Once the system reboots you’ll see the welcome screen as below.
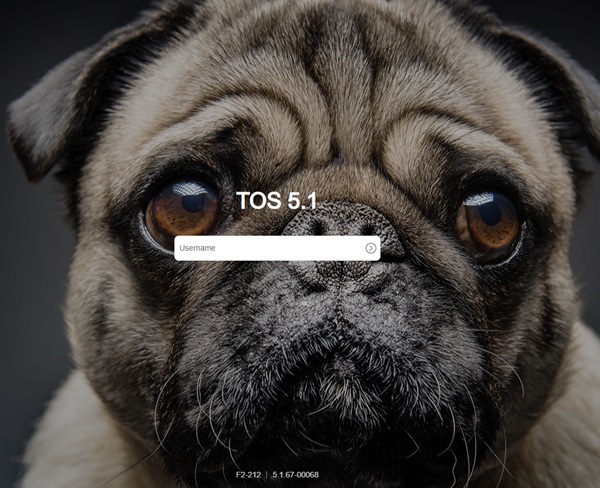
That covers the initial setup which is pretty straightforward and not at all complicated.
The Software (TOS operating system)
I’ll admit this is the first time we’re taking a look at the TOS operating system and initial thoughts are positive. While the interface doesn’t look as polished as the likes of Synolgy DSM, the TOS operating system is quite intuitive and functional.
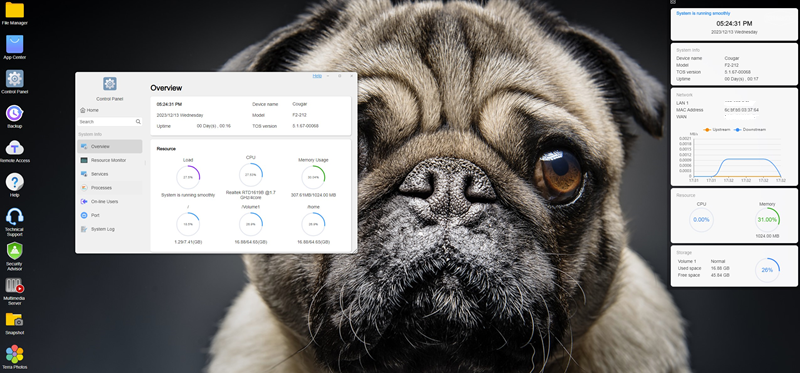
Depending on your usecase the TOS operating system offers a gamut of software utilities built in on their App center. We’ll not dwel into all softwares available rather focus on the most common ones users tend to use these days i.e Multimedia and backup management.
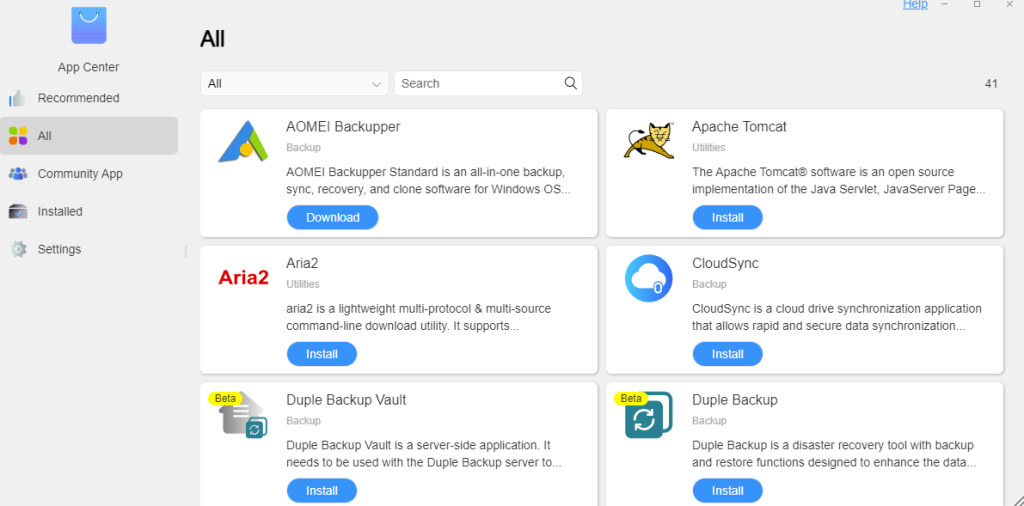
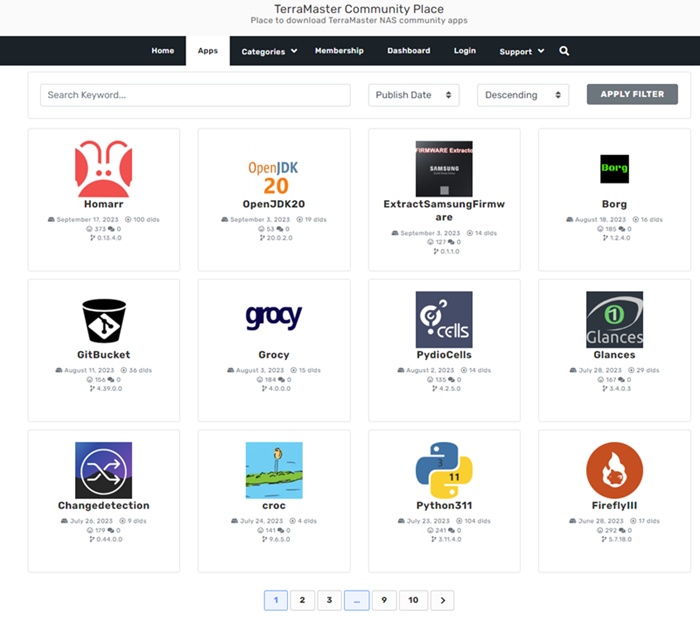
There’s also a community driven app store if you wanted to test out other interesting sofwares of your liking.
Point to note is that the Terramaster F2-212 comes with fixed 1GB of memory which is going to hit its limits pretty fast if you intend to run many applications such as Docker, Plex and so on. While this is a value series NAS, it’s a pity users don’t have the option of increasing the memory of the unit. That would have certainly given the F2-212 more future proofing capability.
Photo Management
Having predominantly used Synology products in the past, couldn’t help but notice how similar the icons are. Personally I find this uniformity appealing as it provides for a seamless user experience when working with diverse brands.
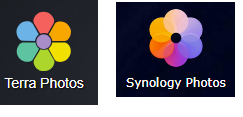
The photo management app on Terramaster is called “Terra Photos”. It’s currently offered in beta status, hence we can expect further refinements in the app down the line. Once you have installed it via the app center you’ll be offered with an intial screen as below.
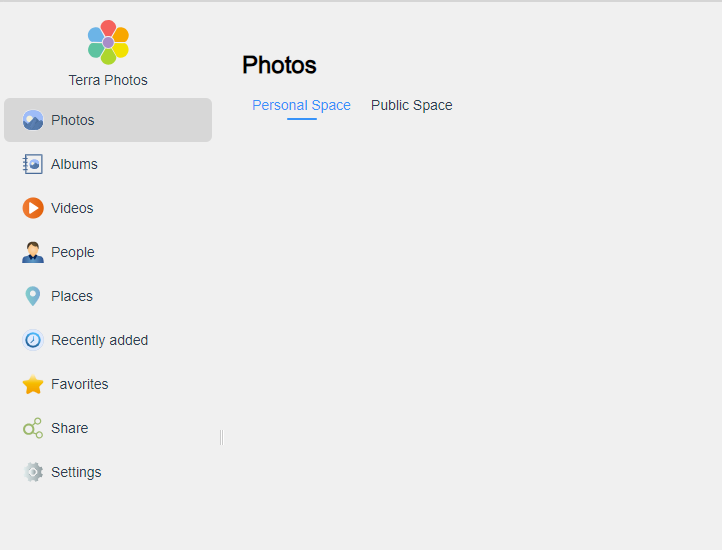
The Terra Photos feels like an early rendition of Photoprism. It does require more work to win the hearts of its users, however as basic photo and album management the Terra Photos would suffice.
There are a few more steps that need to be performed in order for Terra Photos to be functional. As you can see in the above screenshot, there’s a personal and public space setup by default. The personal space will restrict images/videos to the respective user. If you had multiple users setup on the NAS, each user will have their own personal space which won’t be visible to other users.
The public space will allow any user to view images/videos, and you need to specify a shared folder for the public space. Simply create a shared folder by going into the control panel and follow the prompts to setup a new folder.
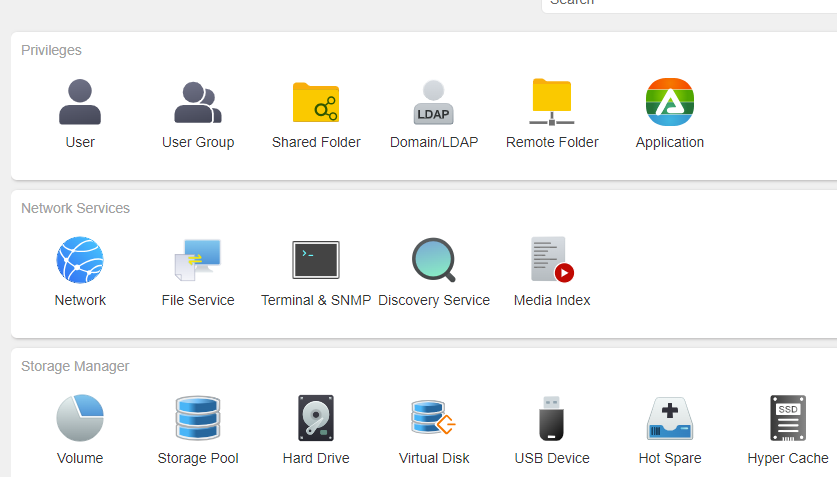
Next go to the “Media Index” service and add the folder you created previously.
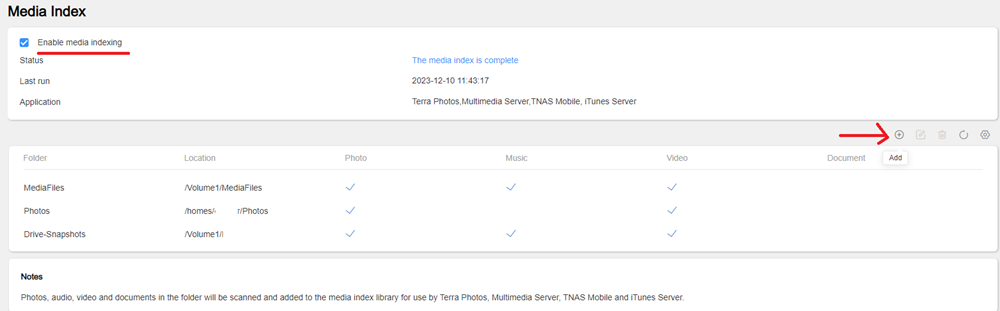
If you have multiple media types such as photos, videos and music, make sure to select all 3 options when adding the folder in the above step. To ensure current and new media you add to this folder keeps getting indexed, ensure the “Enable media indexing” option is selected. You can have multiple media folders if you wished to organize your folders differently; just ensure each of those are added into the media index as above.
Depending on the number of media files you got, the indexing process and take from a few minutes to a few hours. The process is resource intensive hence it’s best to have it perform this operation outside of busy hours.
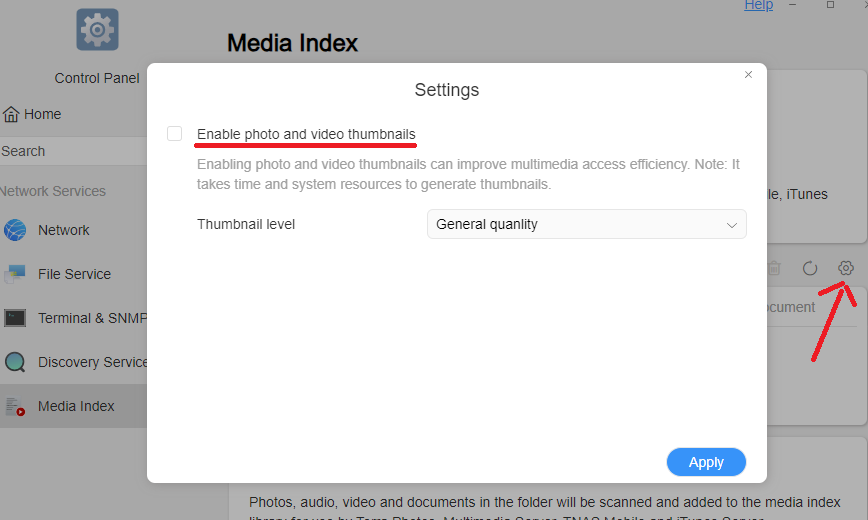
We found that even after running the media indexing our images weren’t showing the thumbnails on the gallery.
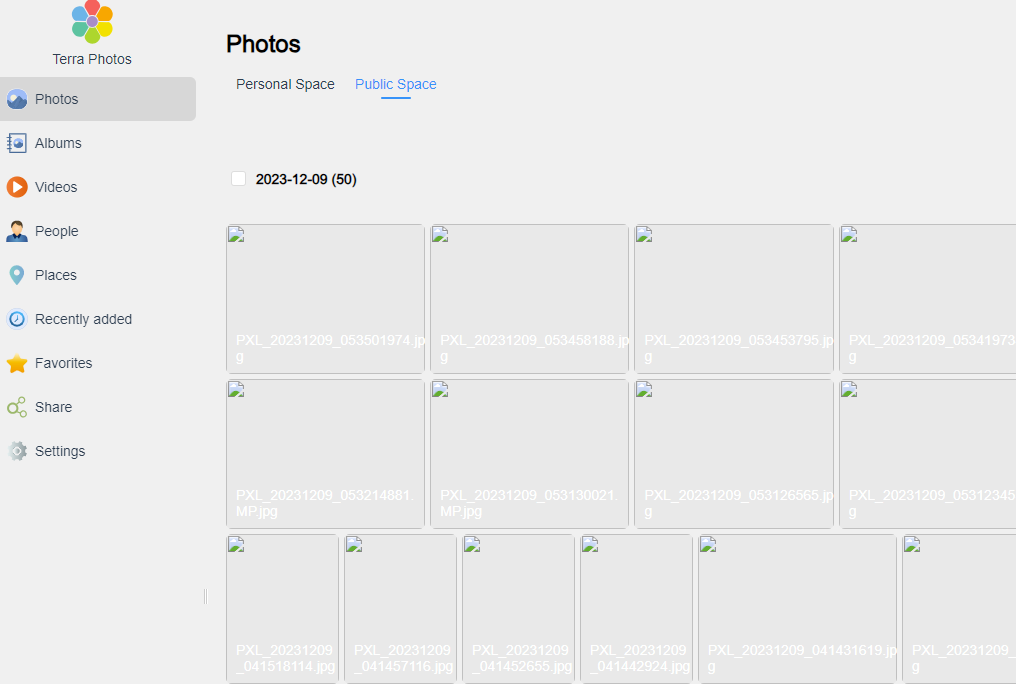
You need to go into the media indexing service, click on settings and ensure the “Enable photo and video thumbnails” option is selected. Once done, rebuild the media index and your thumbnails will appear.
These are small improvements Terramaster should make in future renditions to provide users with a more seamless experience with Terra Photos.
Plex
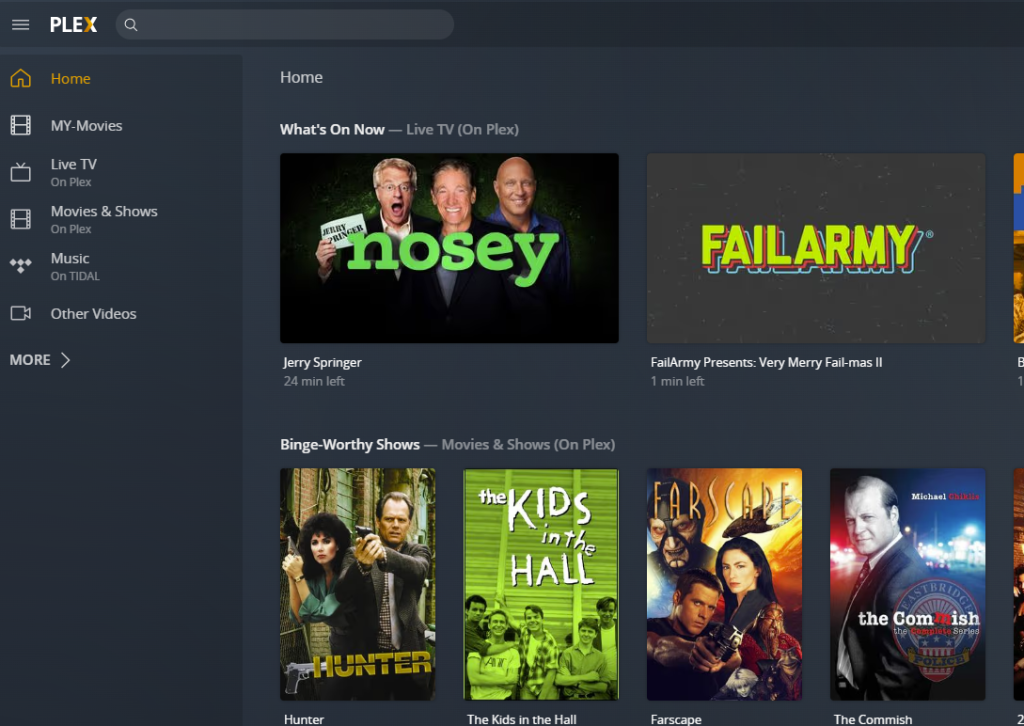
One of the most common applications run by home users on their NAS is Plex. Plex is simply one of the most mature media servers you can get your hands on and Terramaster App center includes this by default making it a breeze to install.
First thing you need to do after installing the app via the app center is to create a shared folder for all your plex media.
Follow the steps given below.
- Create a shared folder for your Plex media
- Go to permissions and select “User group” from the right hand
- Ensure the “media” group has “read/write” permissions and press apply
- Place a tick on “Replace the permissions of all the subdirectories” and press apply.
That’s all to it and you’ll soon see the media showing up on Plex. Thanks to the powerful ARM V8.2 Cortex-A55 64-bit 1.7GHz quad-core processor you can enjoy faster 4K video encoding and decoding capabilities if your local environment requires it.
Backup solutions
Like most NAS providers the Terramaster TOS operating system offers a range of backup solutions. The default backup solution provides pretty much everything you need from a backup solution which includes Rsync, Snapshots, Time Machine Backups for Mac systems, CloudSync if you wanted to backup your NAS data to cloud services such as Google, OneDrive, Amzon S3 and so on. The CloudSync service offers 2 way and one way synchronization catiering for various backup strategies.
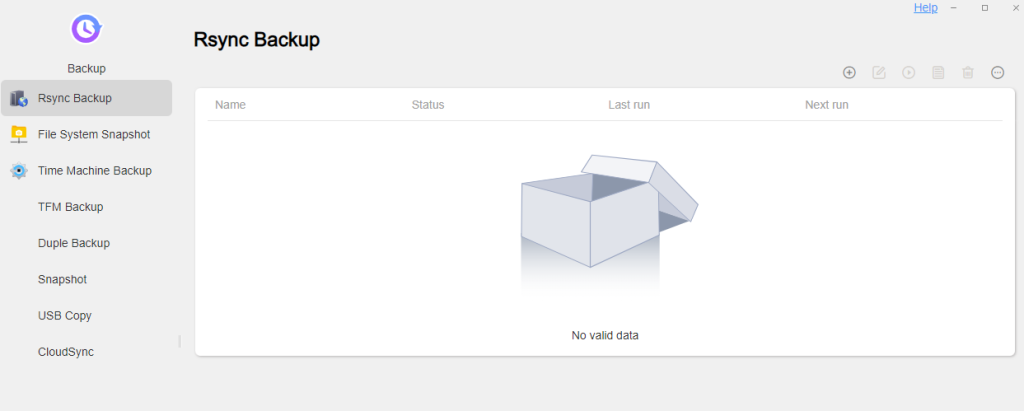
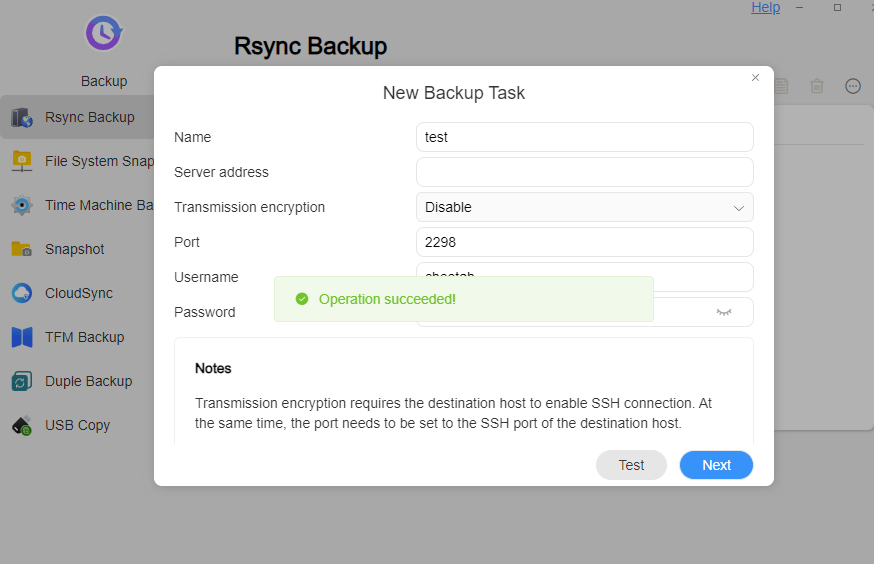
We setup Rsync to another NAS on our network and the process was simple as giving the server IP and correct port.
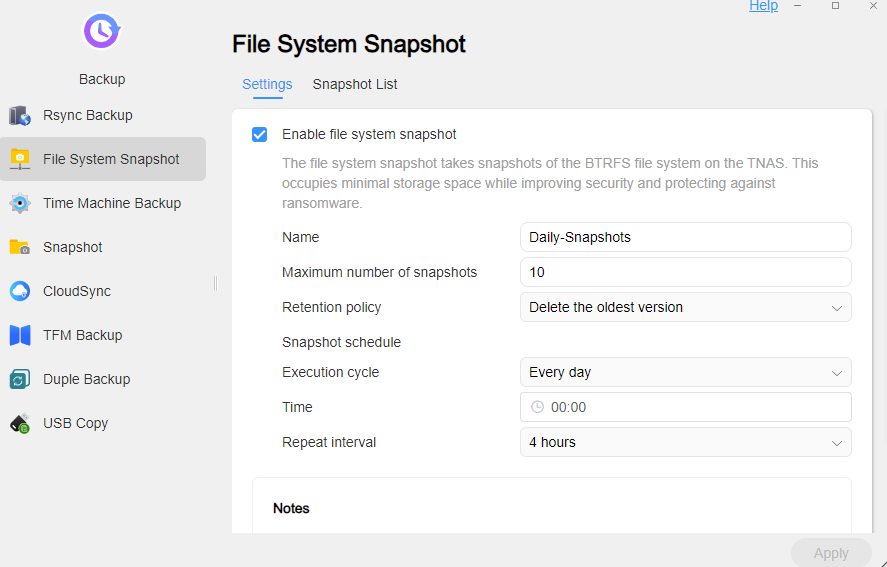
Snapshot Replication
Snapshot replication protects against accidental deletions or ransomware attacks as it takes a point of time snapshot of your file system. This is another reason to format your file system in BTRFS. We tested the functionality out and it worked like a charm. Do note however snapshots should only be one of multiple backup strategies you should have in place for your data.
Conclusion
For a budget entry level NAS the Terramaster F2-212 has a lot working in its favour. A decent hardware lineup including a powerful ARM V8.2 Cortex-A55 64-bit 1.7GHz quad-core processor, 1GB of RAM, hot swappable drives, coupled with an attractive software bundle, makes the Terramaster F2-212 an attractive choice for begginers venturing into the world of NAS.
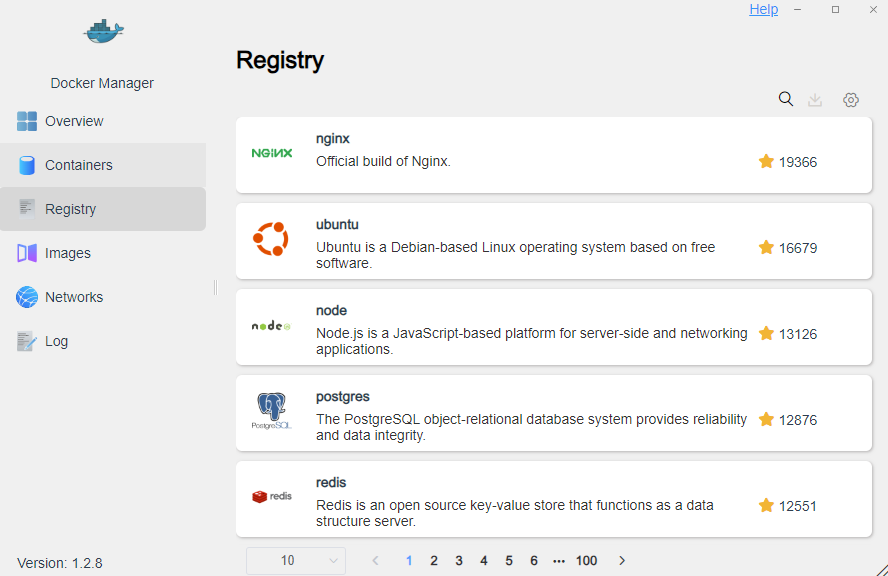
One thing I like about the Terramaster F2-212 is that even though it’s an entry level NAS, Docker is still provided as an option to install opening up your world to this fun and powerful technology. Most other manufacturers do not provide this on their entry level series. Sadly however this bring us back to the point that the fixed 1GB memory on the unit can soon hit its limits.
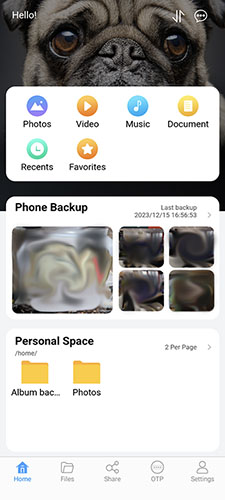
While Terramaster have come quite a long way in terms of their software bundle, it stll has more work to do to match up to some of the other bigger players in the market such as QNAP and Synology. Make no mistake however, the TOS 5.1 is quite intuitive, it just lacks some minor refinements which we can expect in future updates. There’s also a mobile app for each management as well as for automated photo backups into your NAS directly from the phone’s gallery. The app is quite functional and I like the fact that media and file management can all be done within the single app.
The Terramaster F2-212 retails around AU$280 making it a solid entry level price for users. If you’re currently using cloud storage and looking at bringing all into a private cloud, this unit will do you justice. Given the unit’s decent hardware specifications, it works well with Plex and if you wanted to test out the world of virtualization via docker without breaking the bank, the F2-212 would make an ideal choice.
| PERFORMANCE | |
| FEATURES | |
| VALUE | |
| BUILD QUALITY | |
|
Average
|
|