How to secure your Synology NAS
With the increase of Cyber security threats in the recent past we thought it would be best to provide some tips on how to secure your Synology NAS. By default, Synology Disk Station Manager (DSM) opens up almost everything apart from a few minor changes. Hence the onus is on the user to tighten up access to your Synology NAS to ensure the best protection to your device and data.
The Basics
Lets start with the basic security controls you’d want to have as standard.
- Disable the default “Administrator” account
During the setup process, DSM 7.0 disables the default admin account once you provide a username. Ideally this should be something unique to you and avoid common words like “Administrator”, “System”, “Default” which a potential hacker can easily guess for brute force attacks.
At the same time, ensure the account you setup has a strong password. Avoid common passwords, simply do a google search and you’ll be surprised how many people use common passwords.
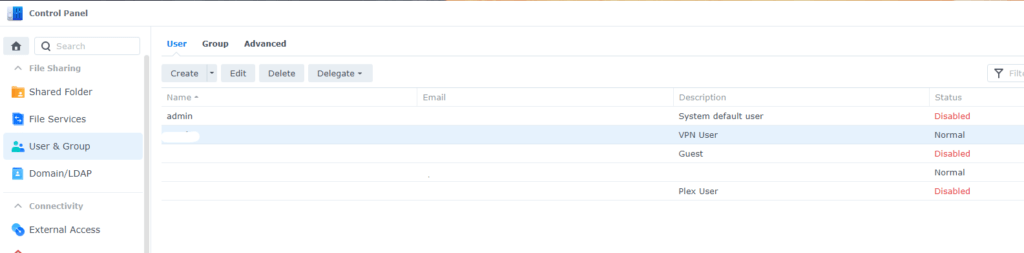
Below is a screenshot of our basic setup. Simply validate to make sure the System default user is disabled once you’ve setup an administrator account.
2. Setup MFA on your Administrator account
As an added protection, enable 2 factor authentication so that you have an additional layer of protection if anyone tries a brute force attack on your NAS.
You can setup 2 factor authentication just for your admin account, or have it setup across all users/groups. As a minimum you’d want to set this up on your administrator account.

3. Account Protection and Auto Block
DSM also provides a few additional features to secure your accounts.
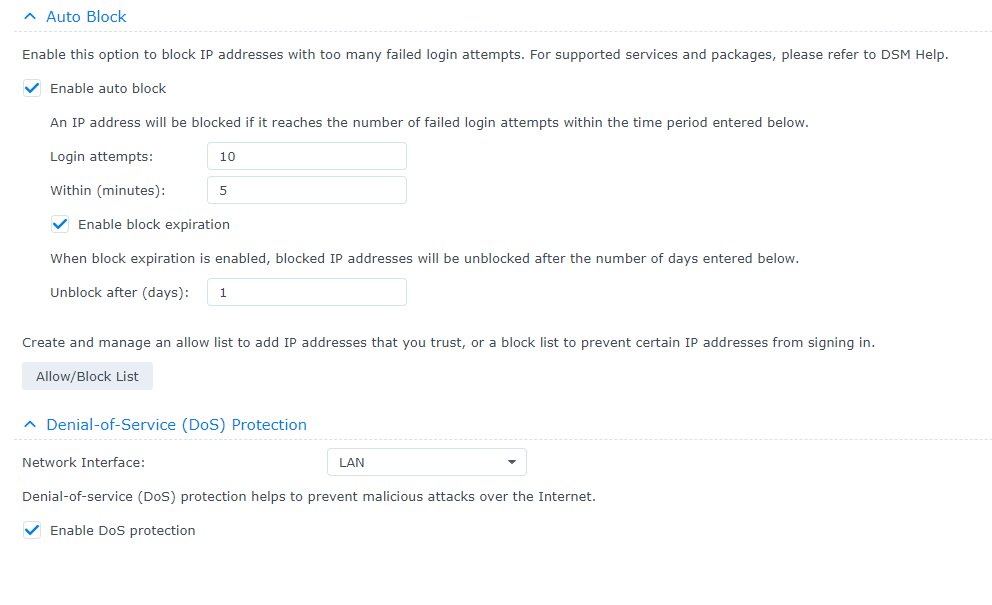
The account protection option blocks specific accounts based on criteria you define for unsuccessful login attempts.

Enable the “Auto Block” feature to automatically block specific IPs from accessing your NAS after too many failed attempts. You can adjust the values shown to make it more aggressive or lenient.
On the same window, you should enable the DoS protection on the connected interface that talks with the internet.
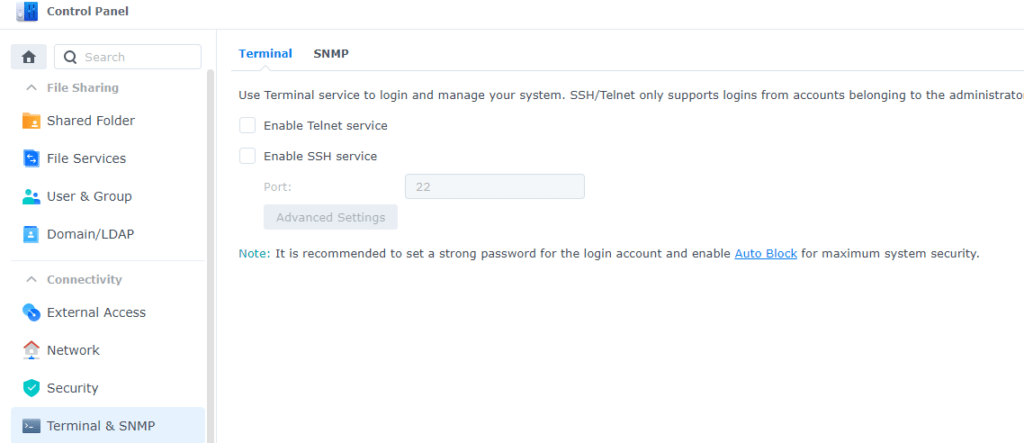
4. Disable Telnet/SSH services
Unless you’re a power user the vast majority of us don’t require telnet/SSH access to your Synology NAS. If you don’t know what these mean, chances are you don’t need these services.
5. Backup your data
While one of the reasons you may be buying a NAS is to backup data, you don’t want that to be your last resort if something did happen to your Synology NAS. Best practice suggests you follow a 3-2-1 formula where you maintain 3 backups on 2 different storage mediums with one backup being off-site. The backup strategy to use will purely depend on how you use your NAS. If it’s purely for storing movies etc, you really don’t need a very robust backup strategy.
Advanced Steps
- Setup VPN for remote access of your NAS and Disable QuickConnect.
If you wanted to access your Synology NAS remotely, the simplest method would be to setup port forwarding on your router using your static IP or Dynamic DNS name. However this is not sensible from a security sense.
QuickConnect is a service from Synology built in DSM that offers remote connectivity to your NAS, however this too opens up your NAS to the world unnecessarily.
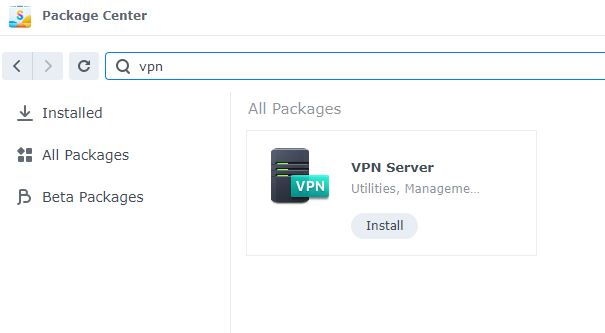
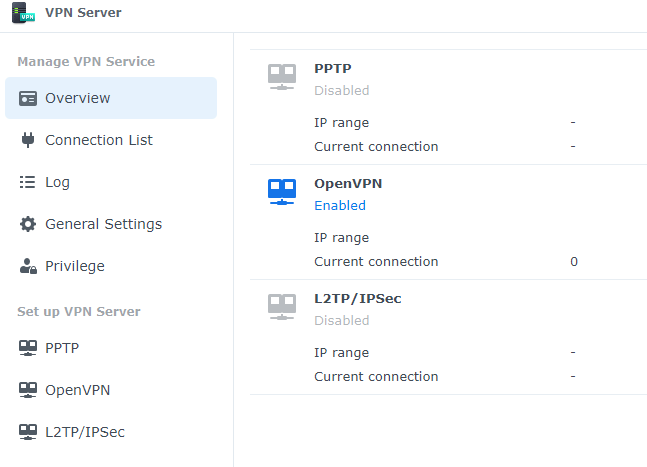
Our recommendation is if you want to be able to access your Synology NAS remotely, setup a secure VPN service. This is easily done on DSM7. Simply go to package manager and install the VPN Server package.
For our setup, we used the OpenVPN service, however you’re free to use any of the listed options or a combination.
One important thing to note, is that you’ll need to setup port forwarding on the VPN server port you configure so your router knows where to direct the incoming traffic to.
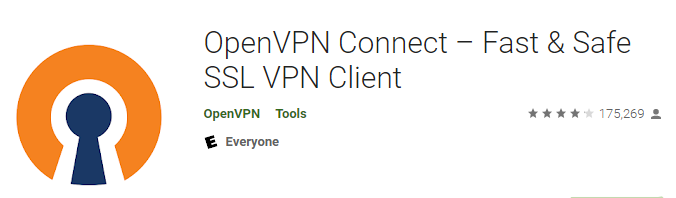
Once the configuration is saved, you can simply download the config and install on the relevant devices. For Android we found OpenVPN Connect client to be the easiest to get the ball rolling. There are a few other steps you need to do in terms setting up the VPN such as creating VPN users, setting permissions etc, but this is beyond the scope of this review. You can always reach out to us if you have any questions.
Once you have tested access to your VPN, you should disable the QuickConnect service if not already done.

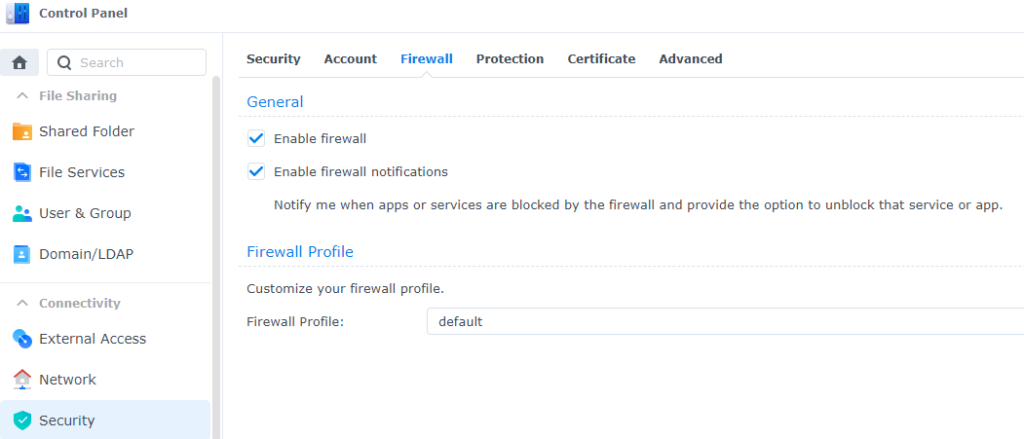
2. Setup Firewall rules
If you have some basic network knowledge, we’d recommend spending some time to set firewall rules up. By default this service is disabled and there are no rules configured.
Go to Security in your control panel and enable the firewall service.
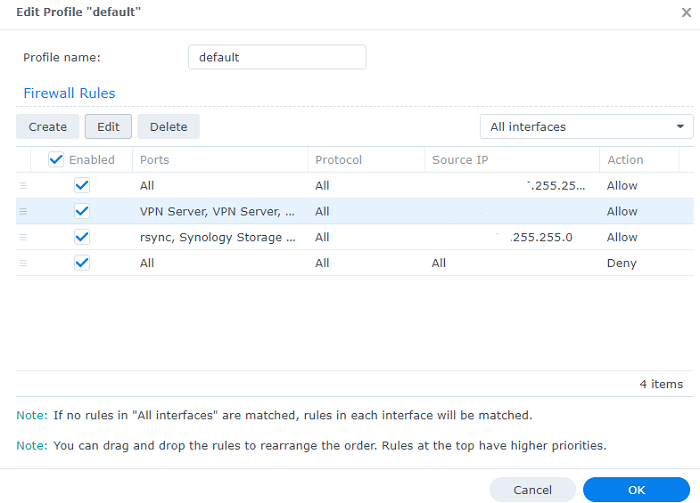
Click on “Edit Rules” and you’ll get a window pop up where you can setup the rules you desire. Few things to consider is that, the rules setup will be evaluated from top to bottom and you need to have a “Deny All” rule at the end so that if any of the rules don’t match, the traffic will be dropped.
A basic setup of rules would look something like below where
- 1st rule would allow access to your LAN devices. If you only wanted specific devices to access the NAS, you can specify the same. You can further refine this rule to only have specific applications to specific IPs on your LAN.
- The 2nd rule we setup was to enable VPN access. If you have a static IP for the external location, you can specify that here, or Synology also allows for geographic locations to be chosen as well.
- The 3rd rule was for services VPN users would be allowed to access
- The 4th rule is the default “Deny All” rule which is very important to have or no traffic is going to get dropped.
Conclusion
Security is an important consideration to make when you purchase a NAS and it’s even more important if you’re storing sensitive data. With our move to a private cloud using Synology NAS devices, security has become our responsibility. On a personal level, I no longer store data on Google Drive and Google Photos. All this data now sits on one or more NAS devices I have within my LAN.
Hence you no longer can shift responsibility of security back onto Google and need to take ownership of it. It doesn’t take too much effort to have the basics up and running and Synology has made things a lot easier for everyone. Hope this article will help in your journey towards setting up a secure private cloud ecosystem.