How to setup a Plex Server on a Synology NAS
As explained in our recent review of the Synology DS220+, one of the biggest advantages of choosing Synology is their solid integration between the hardware and software. Secondly Synology probably is one of the few manufacturers out there that offers the level of software applications on their app store.
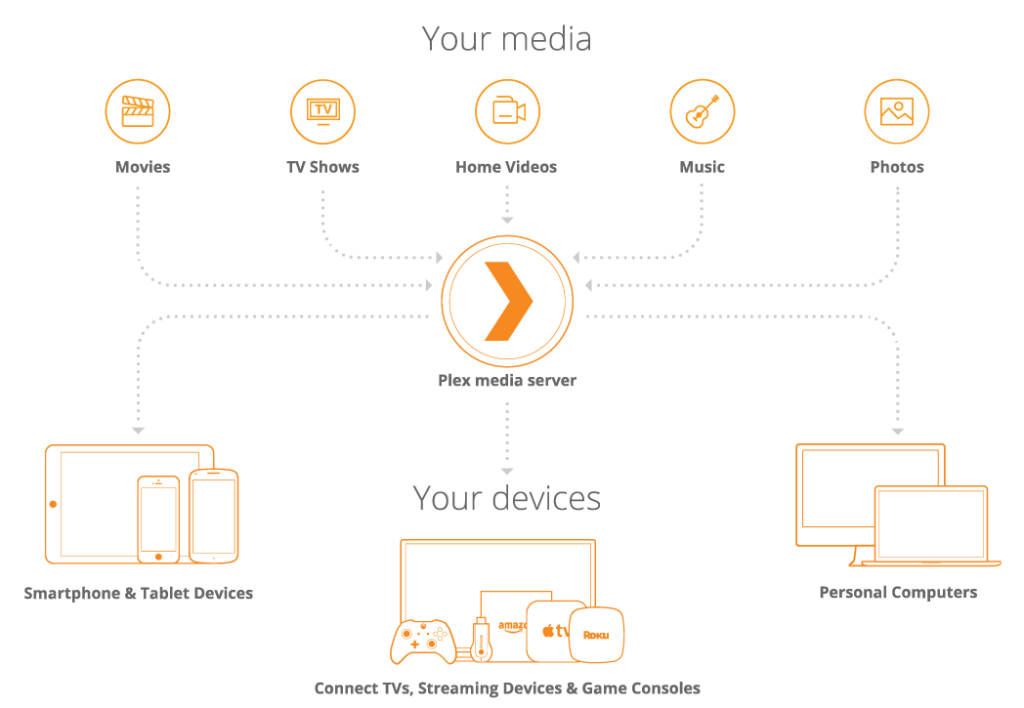
This is what brings us to today’s review; how to setup a Plex server on your Synology NAS. Plex would essentially turn your NAS to a fully fledged media server allowing you to stream content both locally and remotely. Plex is much more than just a media server that would play your content on the NAS, it also supports live TV, Music and much more.

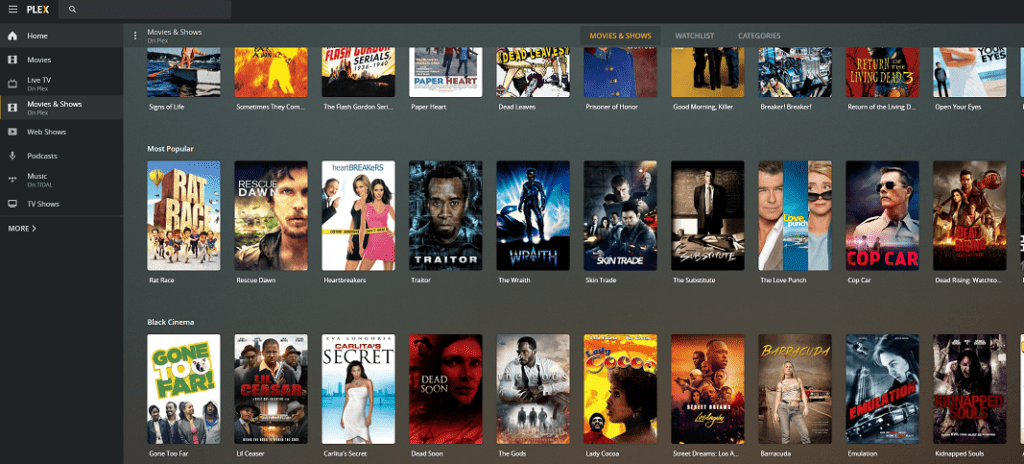
Setting up Plex is extremely straight forward and is certainly more powerful than the Synology Video Station. Plex provides their own library of Movies and Live TV Shows which you can watch in addition to your own library and it keeps updating often.


Step by step – Setup guide
Step 1 – Install package
At the time of writing this review the Plex package on Synology is on Beta release on DSM 7.0. Simply go into “Beta Packages” on your Synology NAS and press “Join Beta” to install the Plex Media server package on your NAS.

Step 2 – Select log file location
Once the installation starts, it’ll ask you for a location for log files. In most cases you can leave this blank unless you want these log files to reside in a specific location.

Click next and Plex server would be installed on your Synology NAS.

Step 3 – Setup folder permissions
The next step is something new to DSM 7.0. You need to ensure the “PlexMediaServer” user that gets created during the installation process is given the required permissions to access the media folders that stores your content.

At this point Plex Media server would be installed on your Synology device. However before proceeding to open the application, perform the following changes.
Open “Control Panel” and select “Shared Folder”. Your Shared folder list will certainly be different to below, however the process will be the same.
We’d recommend you have 2 separate shared folders as minimum; one for Movies and another for TV Shows. There’s no rule of thumb here, but it just makes management of your files easier.

Once you have created the required shared folders, next step is to give the required read/write permissions to the “PlexMediaServer” user. To do this, simply select the folder in question, (in our case, it was the “Movies” folder) and select Edit.
Then go to the “Permissions” tab and from the drop down select “System internal user”. Here you will see all system users that’s been created. Scroll down until you find “PlexMediaServer” user and tick on Read/Write checkbox. Hit Save.

Step 4: Plex Server configuration
Select the Plex application from the list of installed applications. You would be offered an initial splash screen during the first run as below.

Press on “Got It” button and it’ll scan the network until it finds the Plex server. Your Server name will show up and you can go with the default or change as desired.

Click “Next” and you now need to select the media libraries created in Step 3 above.

Choose the type of media you’re adding. Plex offers 4 main types of media which is why it’s important to have separate folders created for each one that you plan on using.

Ones the folder is added, it’ll show up as below. You can keep doing this until all required folders have been added. There are some tips you need to follow when creating folders for TV shows, which we will share once we have gone through the initial setup process.

Step 5 – Claim the server and install latest updates
Your next step would be to claim the server, which associates your plex account that you create for free on https://www.plex.tv/. The whole process is very straight forward.

Plex dashboard was showing a newer version than what was installed. To install the latest copy, click on “Please install manually” where you’ll be able to choose the correct version for your device. Once downloaded, go back into Package Center on your Synology device and select “Manual Install” where you can choose to install the downloaded version.

Step 6 – Enjoy your new Plex Media Server
And there you go, few simple steps and you have a fully fledged media server ready to serve to your needs.
Tips when storing TV Shows
Since most TV shows would have multiple episodes spanning into many seasons, if you have them all listed under a root folder structure, Plex isn’t able to separate out each episode and season.
For example, lets assume you have your TV shows stored in a shared folder called “TV Shows”. Next if you only had a folder for each of the TV series and put all your seasons of the show into one root folder, Plex won’t know which files belong to which season and which sequence the episodes should be displayed.
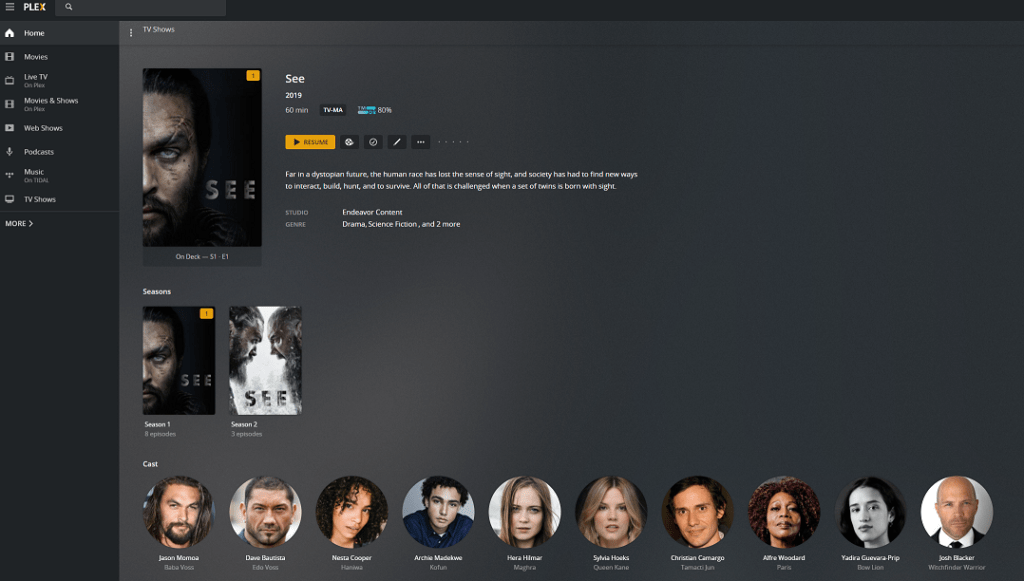
Lets go with an example, so things are clearer. For my example I’m going to show you how I have setup the TV series “See”.

As you can see, Plex has discovered 8 episodes for Season 1 and 3 episodes for Season 2. And If I select Season 1, it’ll show me each of the episodes in sequential order.

To enable Plex to discover and show your TV shows as above, the following needs to be kept in mind.
If you have multiple seasons, ensure you have a folder for each season under the TV show name. In this instance, I have “See (2019) as my master folder and 2 folders inside for each of the seasons. Note: The leading zero when naming the folders “Season 01”, “Season 02” is important.

Each episode needs to have the naming convention of <<Name of TV Show>> dash <<season>><<episode>>.

Once you have the structure and media setup as above, you need to add each of the folders to your media library. Again, if the series spans multiple seasons, you need to manually add each season as a separate folder. See example below.

There are ways to automate some of this activity, however it’s beyond the scope of this article.
Performance
Naturally how smoothly media will play on devices will depend on your LAN speed and power of the NAS itself. The Synology DS220+ we are running our Plex server on performed flawlessly and only time there were minor glitches was when it had to transcode 4K media.
We had 4 devices playing movies simultaneously on different platforms using the Plex application and the DS220+’s CPU usage was hovering around 10-13% throughout which was quite impressive.
Conclusion
Plex is an ever evolving ecosystem. We love the fact that in addition to your own media library, Plex offers their own as well for free. There are approximately 87 Live TV show channels available and a wide range of movies as well. Granted the movies aren’t new, however given that it’s provided free, one can’t complain.


The beauty of owning a Synology NAS is they have made this whole process seamless and extremely easy for users to configure. If you wanted another reason to purchase a Synology NAS, then here’s one more to add to that argument.

I just wanted to reach out and thank you for providing such a simple and straight forward guide to setting up Plex Server in a Synology NAS.
I haven’t used Plex for a good decade now and I’d set it up back when things were very different.
You have enabled to me to quickly install it on my new DS220+ NAS without any stress at all
hey Andy
Great to hear the article was helpful. Plex has certainly come a long way since its origins.