Synology DS220+ Network Attached Storage (NAS) – How to build your own private cloud storage, replacing Google Photos
Hardware Installation
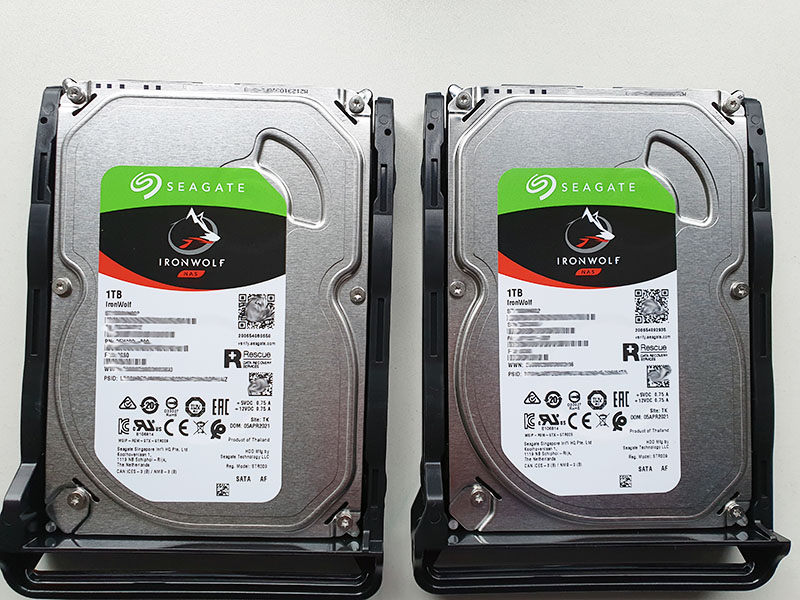
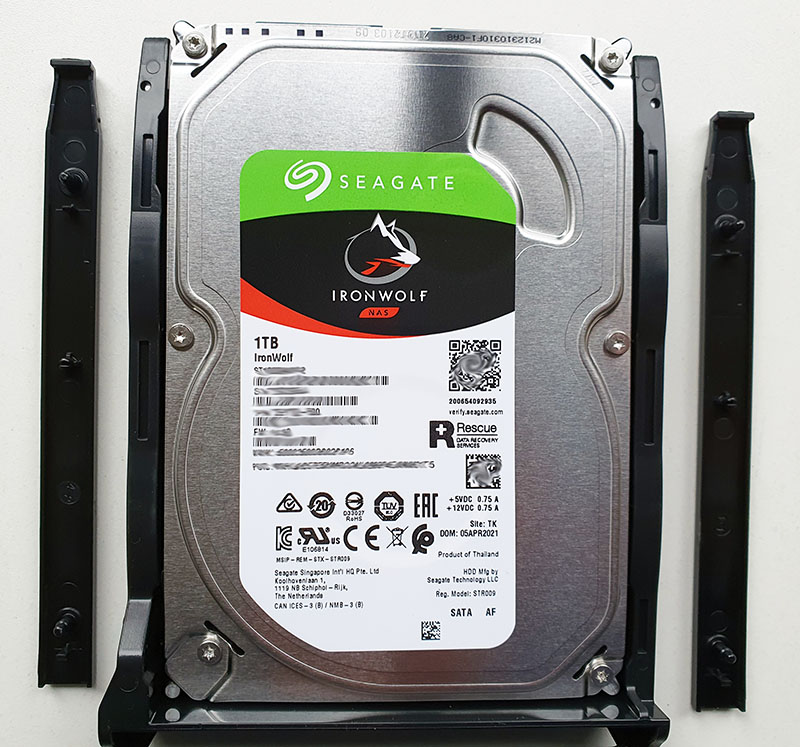
The first towards getting the Synology DS220+ up and running is to install the storage drives onto the unit. Pull out both drive bays completely out of the unit and lay it on a flat table. For our test unit, we decided to go with 2 x 1TB Seagate Ironwolf NAS drives. The DS220+ supports drives upto 108TB giving you ample room for future expansion if needed.
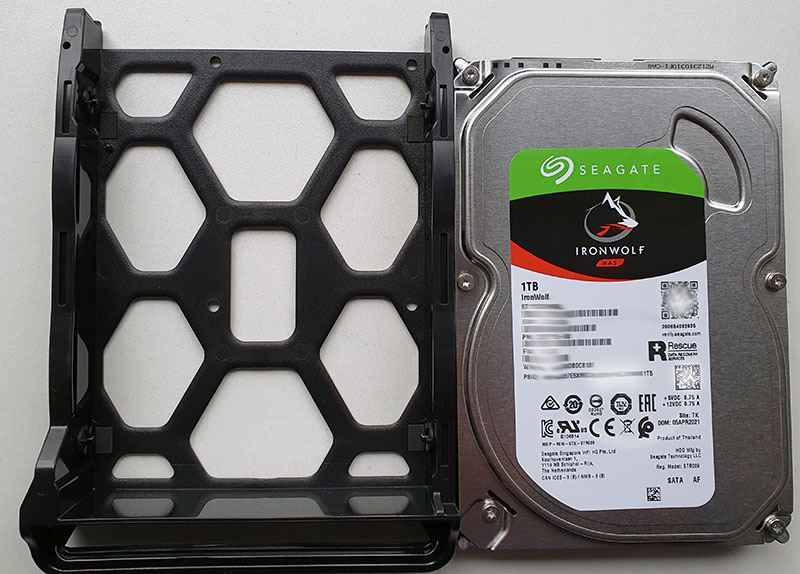
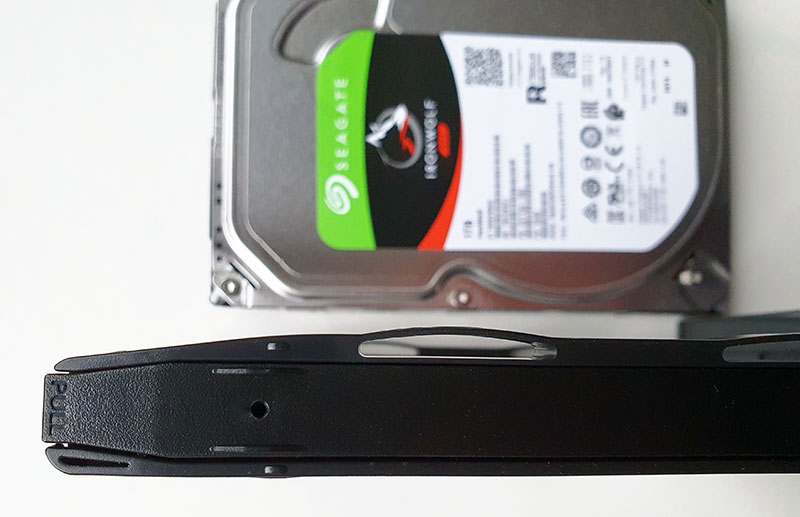
You can install 2.5″ hard drives as well and Synology provides screws to secure the drives onto the drive bays. For 3.5″ drives, no screws are required. The plastic side panels are detachable and act to secure the drives in place.
Ones both drives are in place, proceed to slide them back into the Synology DS220+.
Finally connect the network cable to your main router and power on the unit.
Software Installation
After turning on the unit for the first time, you would hear a single beep sound when the system is ready to be configured. Synology has made the software configuration extremely user friendly. Open a browser window via a PC on the same LAN as the DS220+ and go to http://find.synology.com/
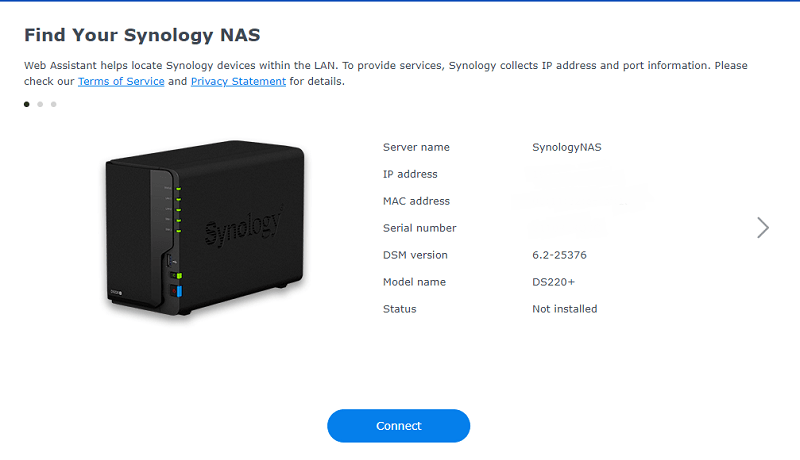
This would launch the Synology Web Assistant which would scan your network for Synology devices. Once the discovery is complete, you will be shown a list of discovered devices.
Our network already had 2 other Synology devices, hence you see the scroll arrow to the right. Nevertheless, next, simply hit “Connect”. Once you connect to the DS220+, the system will prompt you to proceed with the setup process.
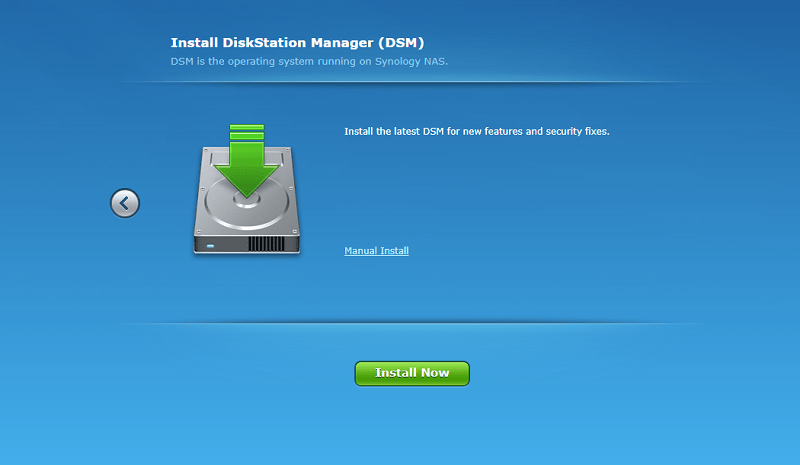
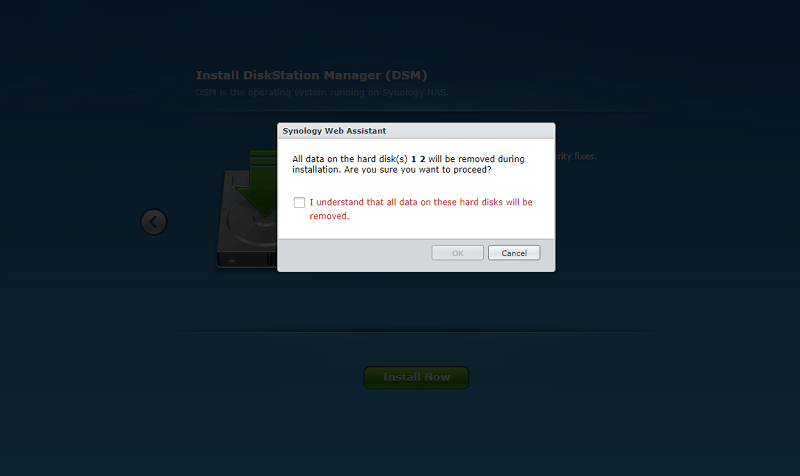
Next you’re prompted to let the assistant automatically download and install the DSM software of you can choose the version you want to install. If you go via the automatic approach, it will install the latest DSM software available for your device. The next step will warn you of potential data loss of any data on these drives should you proceed. In our case these are brand new drives, hence it was safe to proceed.
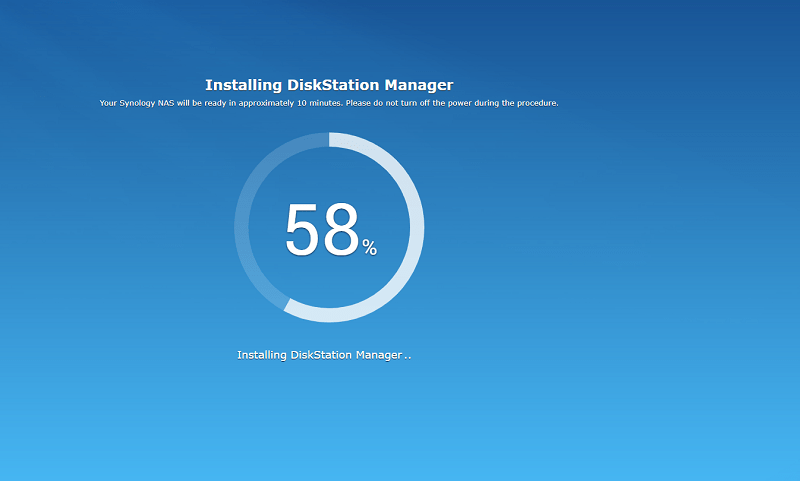
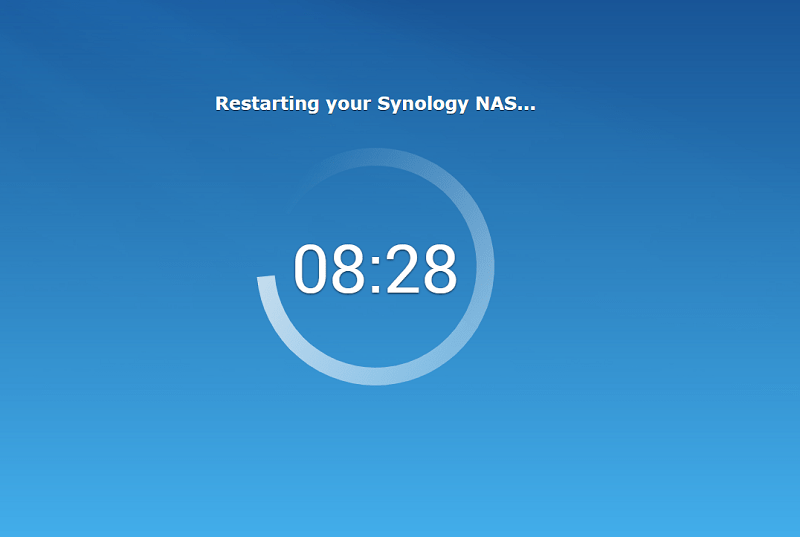
The process of installing the DSM software and system eventually restarting took around 10 minutes in total.
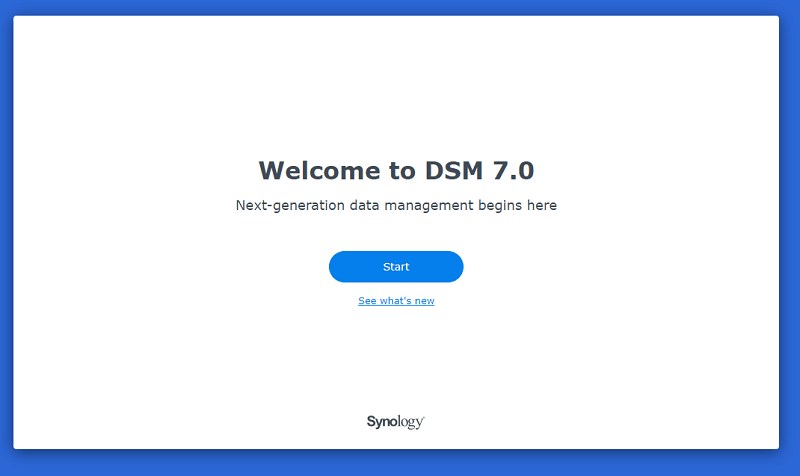
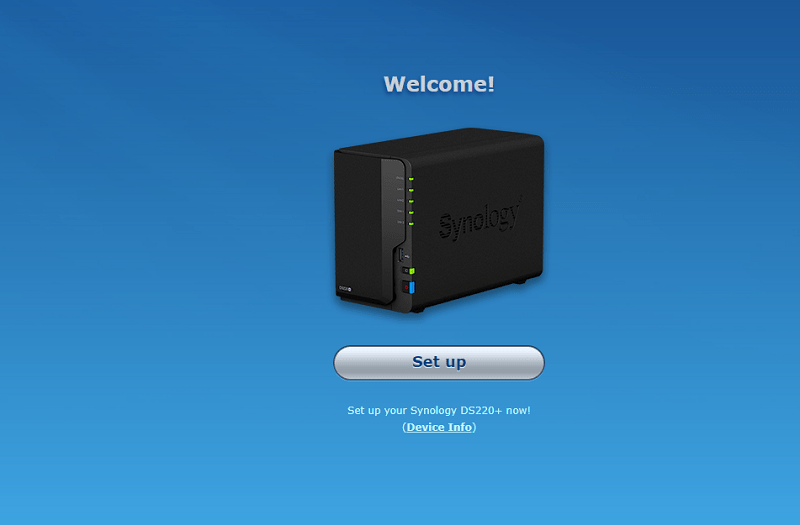
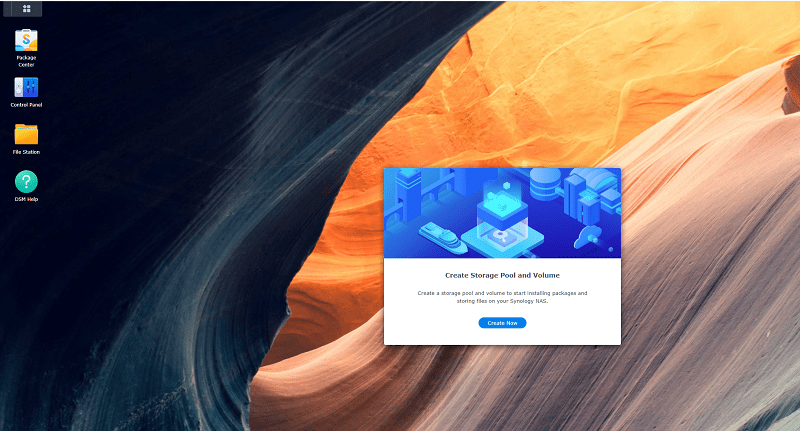
Since we installed Synology’s latest and greatest DSM 7.0 software, you’re shown the welcome screen as below once the installation is complete.
Hard drive Storage Pool and Volume creation
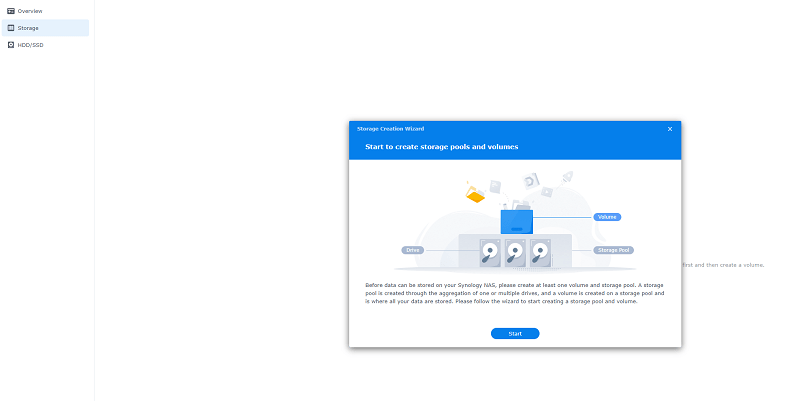
Before data can be stored on the DS220+, you need to have at least one storage pool and volume. The software explains what these are and guides you through the process. A single storage pool and volume would mostly work fine for majority of users out there.
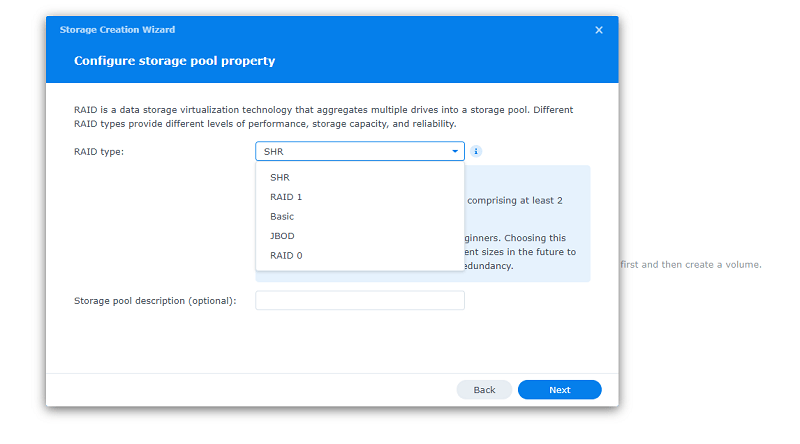
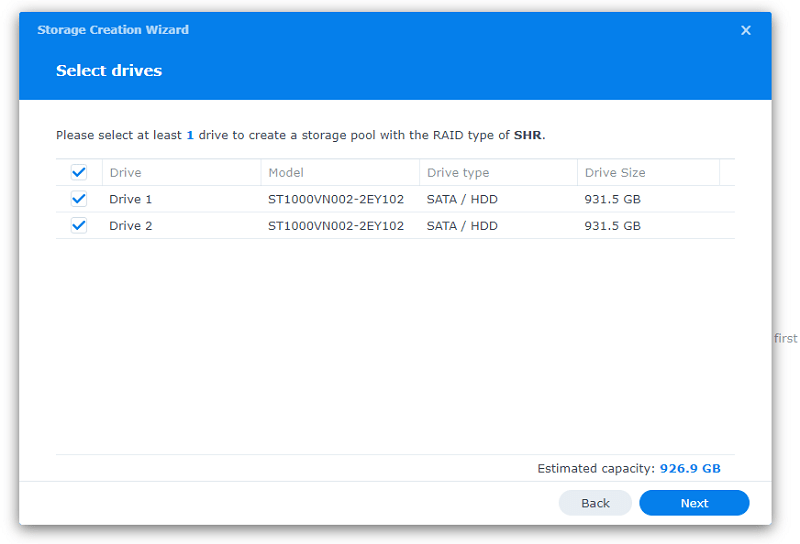
If you’re planning to store important data on the DS220+, then it’s important to have data redundancy. The only drawback to this is however you’d be halving the total capacity as your data is mirrored across two drives. Synology’s website provides more than adequate resources that discuss the benefits of various forms of RAID, however we’d recommend going with Synology’s proprietary SHR solution.
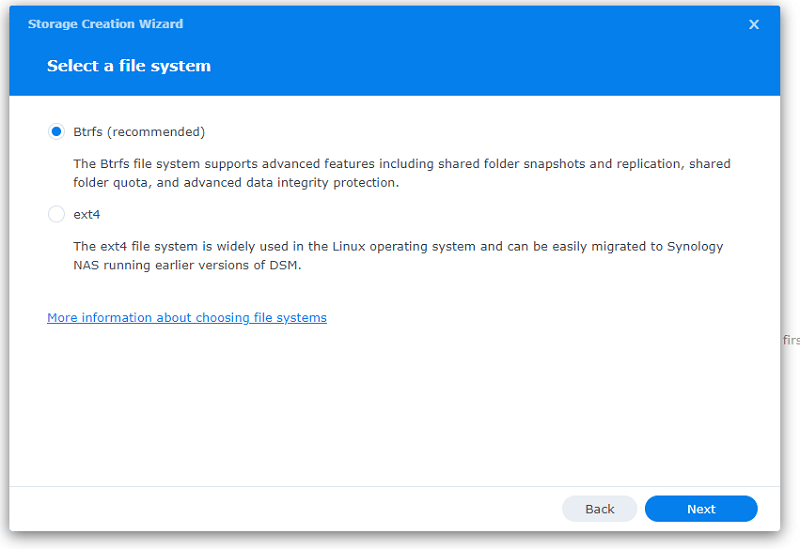
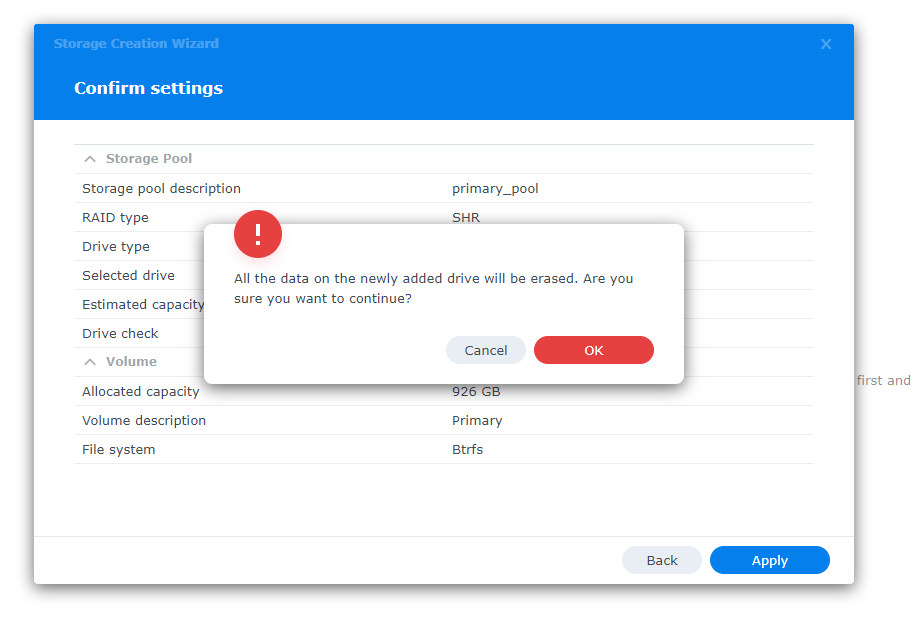
Once the Pool and RAID type selected, you’re prompted to choose the file system for your drives. To make the most use of your Synology DS220+ go with Btrfs, unless you really have a valid reason to go with ext4. Upon confirmation of the details, the system will prompt a warning again stating any data on the drives will be lost.
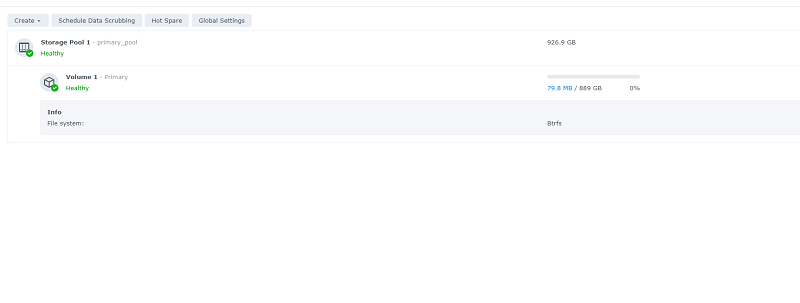
That’s it and the next step would be the DS220+ going ahead with the file system and RAID system creation. The total process before the file system is ready can take from a few minutes to a few hours, depending on the drive size and if you chose to perform extended checks for bad sectors on the drives. You will see a “healthy” green icon once the process is complete.
Features Galore
The true benefit and capability of the Synology DS220+ is achieved when it’s hardware prowess synchronizes with the plethora of software apps provided by Synology. The “Package Center” shows all available software provided by Synology that can be installed on the device. The range of packages offered and how well they integrate with the NAS is one of the biggest selling points for choosing a Synology NAS.

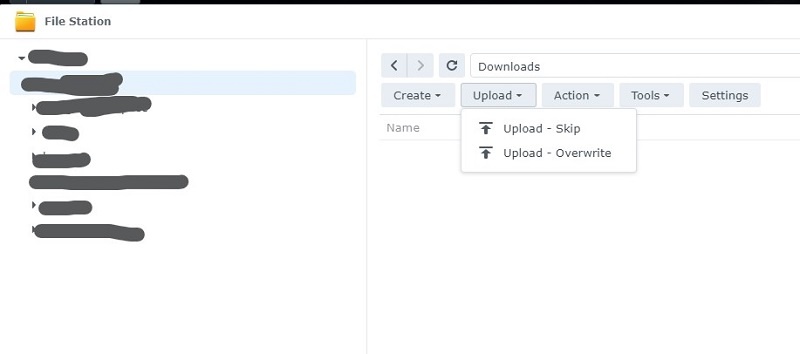
By default “File Station” package is installed so you can view/copy across files by drag and drop or simply uploading data across from the user interface provided. This is now your own private cloud with no subscription fees. You can create your own meaningful folder structure and upload files/data over.
Synology Photos
Probably the most sort after package on the Synology ecosystem is Synology Photos. It’s indeed a great alternative to Google Photos. In fact for most of us it can be a complete replacement for Google Photos given that Google changed their policy on free storage for standard resolution photo uploads.
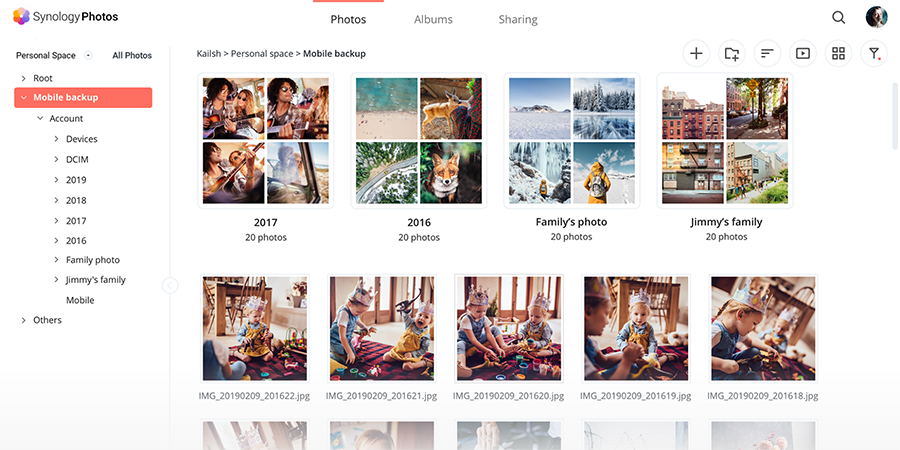
For me personally I have completely transferred across all Google Photos across to Synology Photos. No longer do I need to worry about running out of space and if more space is needed all that’s needed is to buy larger capacity drives. No subscriptions, no additional rules to worry about. The Synology DS220+ is powerful enough to stream videos very smoothly as well and we didn’t experience any lag.
Other useful software packages
While we’re not going to go through all software packages available, we are highlighting a few here that most users would find useful.
Cloud Sync
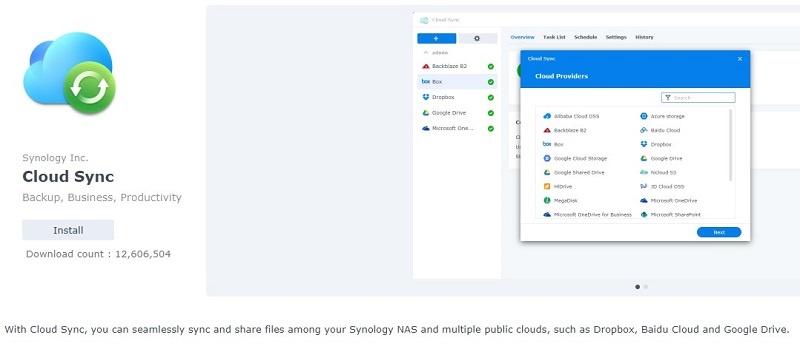
Cloud Sync allows you to sync data between the DS220+ and various cloud platforms such as Google Drive, OneDrive, AWS S3, Azure storage and many more. If you wanted to maintain multiple levels of redundancy by backing upto the Cloud, this software is the way to go.
Snapshot Replication
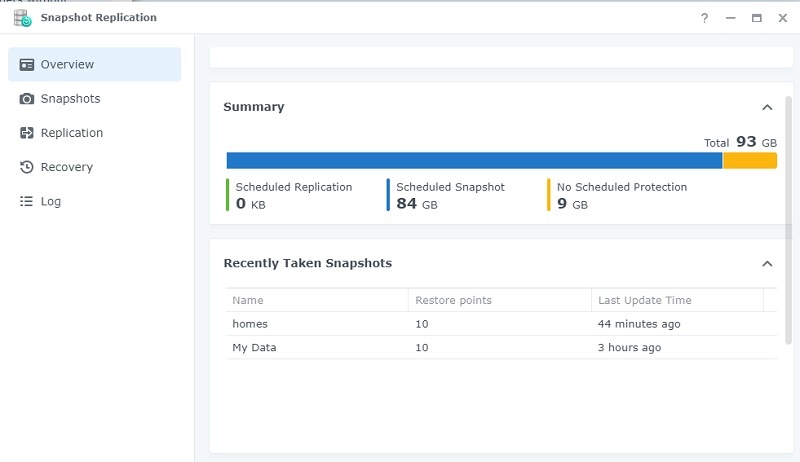
This feature is one of the advantages of choosing Btrfs file system at the start. Snapshots are a point in time copy stored in the same volume used to record the whole data status at the time upon being taken. Snapshots use only a small amount of additional storage space, and do not have a performance impact. If you had used Volume Shadow Copy service on windows, this is a similar feature.
Having snapshots provide you greater resiliency in the unfortunate event you’re an victim of a malware attack since you can simply restore your data to a point in time in the past depending on the frequency you have configured for snapshots.
Depending on your requirement, you have the ability to create snapshots as frequently as every 5 minutes; note that this will have impacts on system performance when it’s set to that aggressive levels.
Synology Office
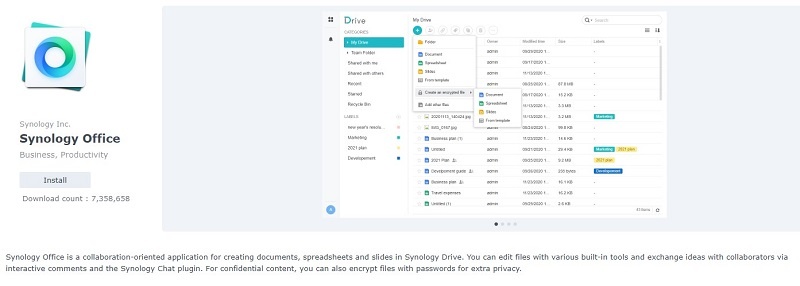
Synology Office lets you create/edit Word, Excel and Powerpoint documents similar to using services from Google. Collaborate and share files within your own private cloud.
Performance and Conclusion
The Synology DS220+ is the entry level device on Synology’s “Plus” device range which caters for performance oriented devices. The only design flaw which is minor but worth noting is the fact that the default 2GB memory the unit comes with is not removable. Hence your only option is to either purchase another 2GB or 4GB module to expand the memory of the D220+ to either 4GB or 6GB in total.
While 6GB of memory is still good enough, it would have been nice to have that option if your requirements grew in the future.
The overall performance of the Synology DS220+ has been excellent for most tasks we threw at it. There were some minor performance issues when streaming 4k media, however the overall experience was positive. If you require 4k transcoding and have lag free performance, you may be better off upgrading to a higher tier device.
Streaming media via multiple devices were smooth and CPU utilization barely went over 20% which is incredible. If your user base grows, simply add more memory and make use of the link aggregation of network ports which will ensure there are no bottlenecks on the system.
The Synology DS220+ retails around AU$535 placing it at a very competitive price point. Synology is also probably one of the few company’s that provide best in class software that complements so well with the hardware they bundle the devices with. After installing the drives, you would be up and running in under 15 minutes and the software suite offered is extremely intuitive and powerful. Couple that with the high specs the Synology DS220+ comes with, makes it a winning combination which you simply cannot go wrong.


Build Quality
8
Performance
9
Features
8.5
Value
9.5
I know their website mentions added 4GB RAM but it does support more. I threw an 8GB and it is reporting 10GB now.
Thanks for your great article 👍
Jason
Hey Jason
Thanks for sharing. I’m assuming you’re using non Synology branded RAM here? If you go via the traditional route https://www.synology.com/en-au/compatibility?search_by=products&model=DS220%2B&category=rams&p=1&change_log_p=1 they only allow for 4GB upgrade.
It’s good to know this is possible nevertheless and would be keen to know if you experienced any issues. BTW what apps do you run that would demand heavy Memory utilization.