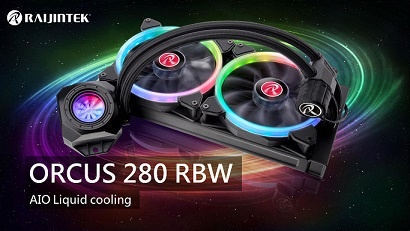
Raijintek ORCUS 280 RBW AIO Liquid CPU Cooler
Installation
The overall installation process was extremely easy and straight forward. The included user manual does a good job in describing the install process step by step.
The first step in the installation process is to install the backplate onto the motherboard. Depending on the type of platform (Intel/AMD) the bracket mounting points will differ.
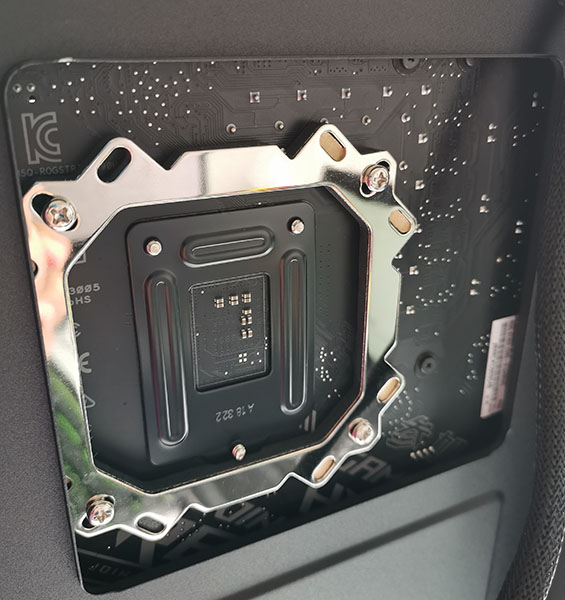
Secure the backplate using the screws and mounts provided as shown.
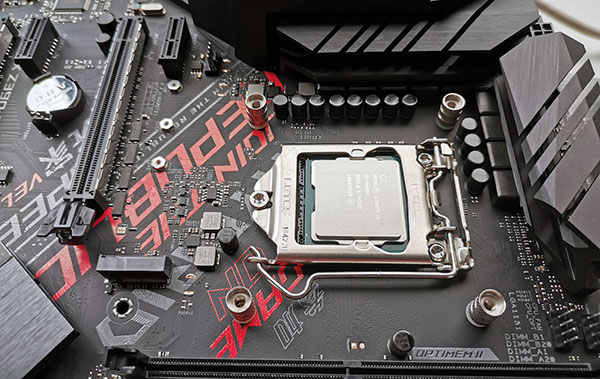
The next step involves mounting the top bracket to the pillars which by now should end up looking as below.
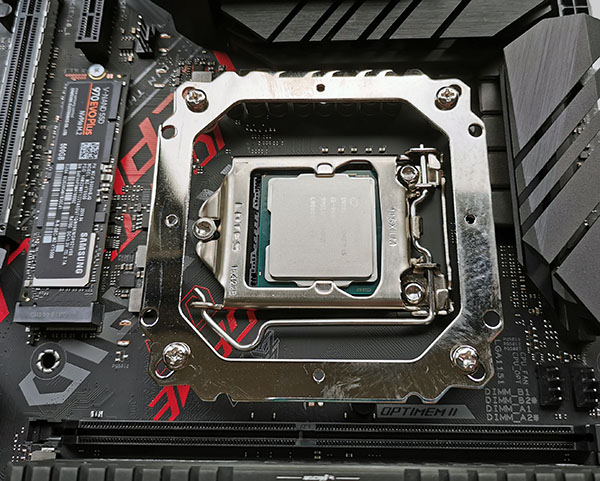
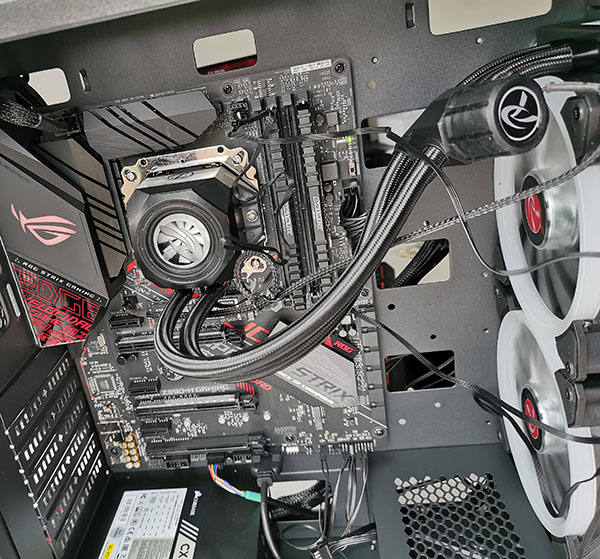
The final step is mounting the CPU block into the bracket above. If this is a new build, we recommend you connect the CPU block while the mainboard is out of the case as it’ll be much easier to get it on and secure in place. Your final setup should look something similar to below. (Ignore the clutter, this was before everything for tidied up.) Once the mainboard is installed you can proceed with the placement of the radiator and fans. You could either go with the front mount or top mount, which ever is your preference.
If your mainboard does not include a 5v addressable header, you can connect the controller box directly to your PSU and control is via the included remote. You’ll need to set the swith as shown below if you want to control the LED lighting through the remote.
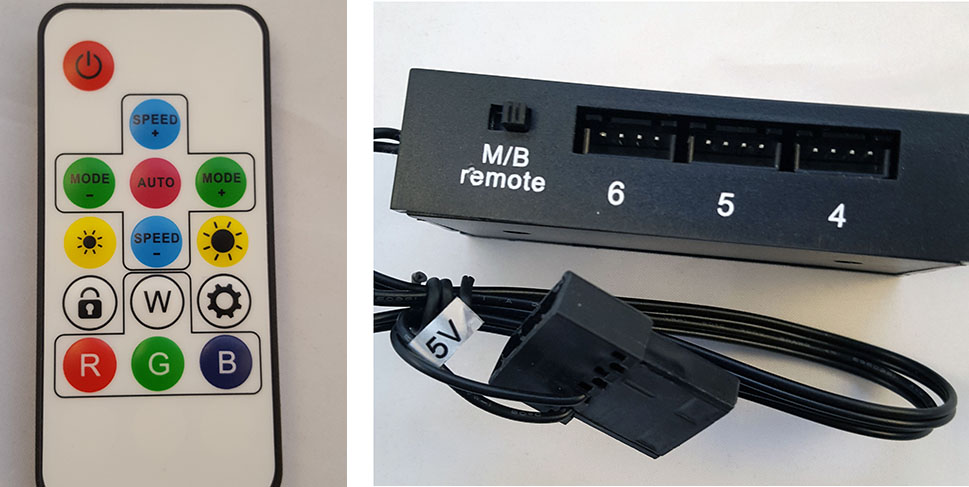
One aspect you may have trouble with is the LED modes offered once you start cycling through them. What we found useful was pressing the “Auto” button will bring the mode to the begining whereby you can then keep track of which lighting mode you’d prefer to go with.
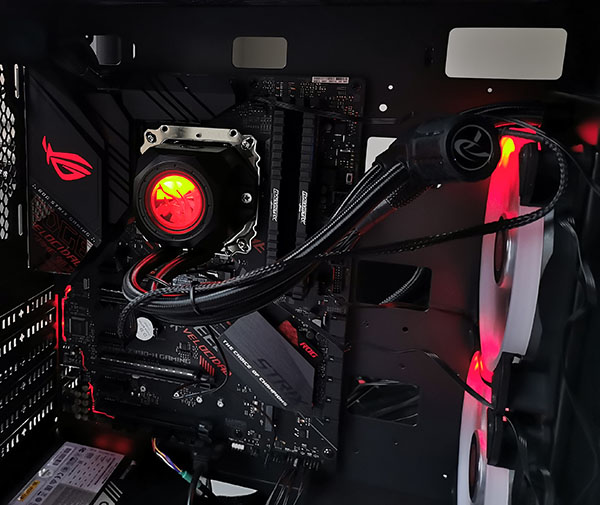
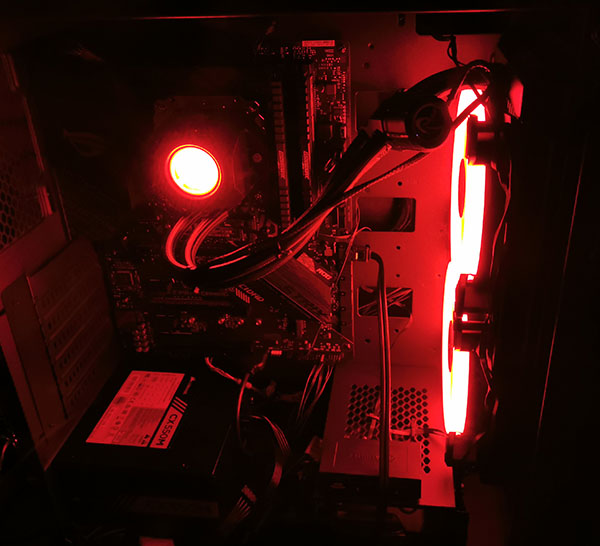
With RGB lighting on. You can cycle through the various lighting modes offered to choose what matches your taste and rig.
| Table of contents |
| 1. Introduction |
| 2. The Orcus 280 RBW in-depth look |
| 3. Installation |
| 4. Performance |
| 5. Conclusion |
