Cooler Master MasterLiquid Pro 240 Liquid Cooler Review
Cooler Master: MasterLiquid Pro 240
The MasterLiquid Pro 240 came to us in a very impressive retail box. Generally when a company goes that extra mile to enhance the outlook of their retail packaging, it shows how much they value workmanship. I’m sure you’d share the same sentiments if you were a customer of Cooler Master in the past.
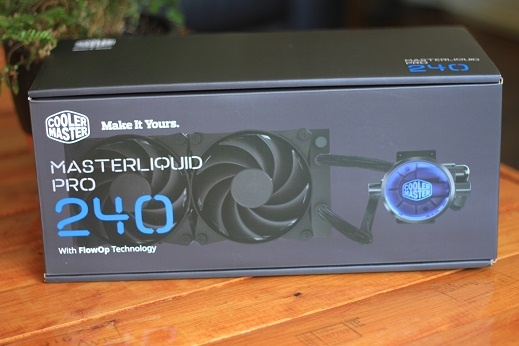
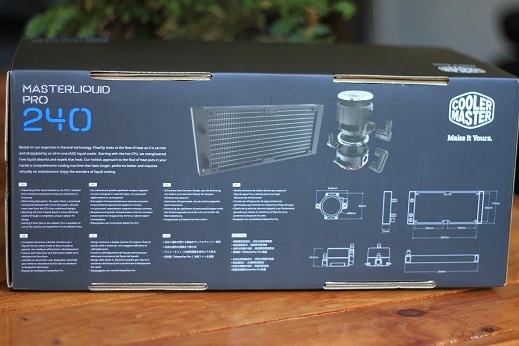
The box does a good job in giving potential buyers a good idea overall on the capabilities of the product. It even has a high level break up of the MasterLiquid Pro 240. Given that liquid cooling is geared towards to more tech savvy users it’s good to see the technical detail Cooler Master has provided on the outside.
Accessory Kit
A comprehensive accessory kit is included with the MasterLiquid Pro 240. Props certainly goes to Cooler Master for the level of detail they have put into this kit. They haven’t cut corners anywhere, even the thermal paste included is one of their premium MasterGel Pro thermal paste tubes. One thing surprisingly lacking is a screw driver, which isn’t a big ask but would have been convenient had it been there.
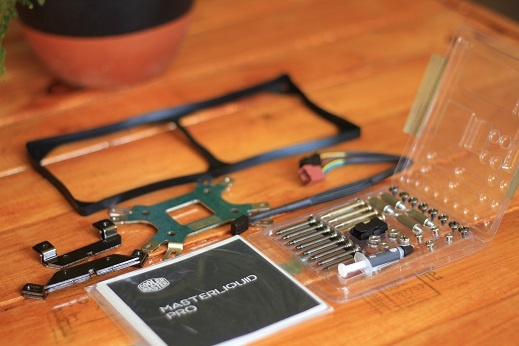
The MasterLiquid Pro supports both Intel® LGA 2011-v3 / 2011 / 1151 / 1150 / 1155 / 1156 / 1366 / 775 socket range and AMD AM4 / AM3+ / AM3 / AM2+ / AM2 / FM2+ / FM2 / FM1 sockets. The kit includes the required base plate and respective components for a universal fit.
The included manual goes into minute detail with regards to installing the unit, so I seriously doubt anyone will have problems installing it onto your motherboard.

MasterLiquid Pro 240
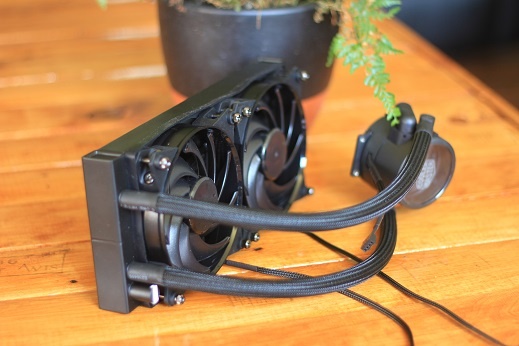
As mentioned before the MasterLiquid Pro 240 is an All In One liquid cooling unit. While at first observation you may not see much difference between this kit vs other mainstream liquid coolers. However there are few design features of the MasterLiquid Pro 240 that’s working towards its benefit which Cooler Master calls FlowOp Technology. The technology looks to optimize the flow of liquid, enabling it to carry heat quickly and efficiently away from the CPU.
Square fin radiator design
This is achieved by changes to the design in multiple areas of the cooler. Firstly they have changed the design of the 240mm radiator to a square fin design which Cooler Master says gives space for greater airflow and more surface area for heat absorption.
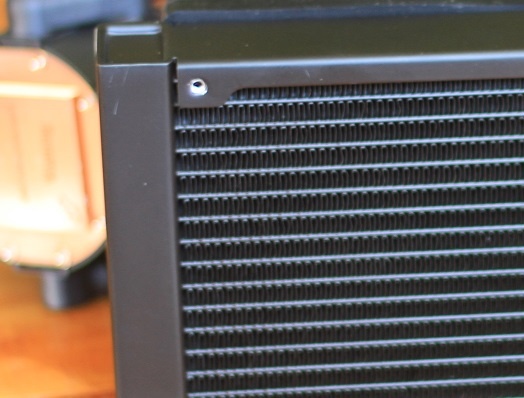
240mm radiator has an all black matte finish which blends nicely with most casings out there. It also has a fill nipple. However as you can observe in the pictures, they have placed a warranty sticker over it. What this means is the MasterLiquid Pro 240 is meant to be a fully closed loop system that does not require any re-filling by users.
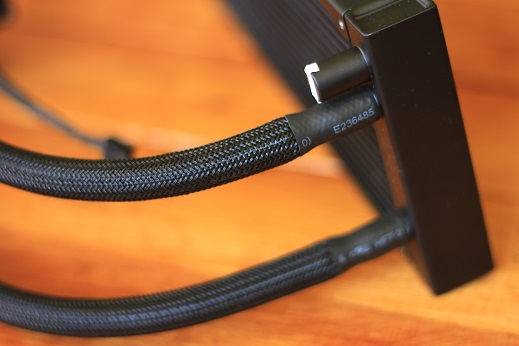
The next weapon up their sleeve are the radiator fans.
MasterFan Pro 120 AB
The MasterFan Pro 120 Air Balance fans sporting 9 blades take their design features from both jet engines and helicopter blade designs. The blades propel air farther than their previous designs while keeping a nice balance between Air flow and static pressure.
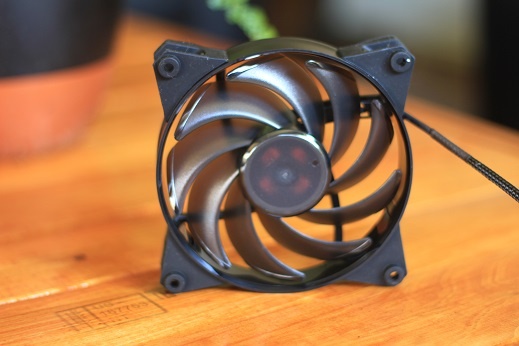
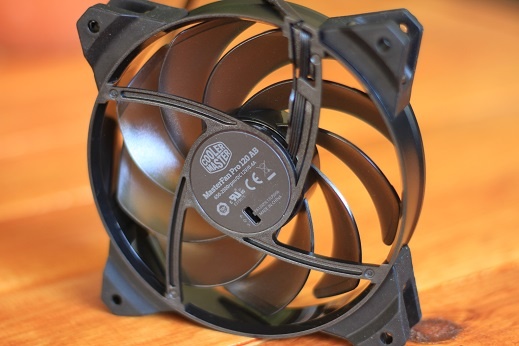
To maintain any rattles to a bear minimum the mounting corners are made of rubber which also adds a degree of flexibility to them during installation.
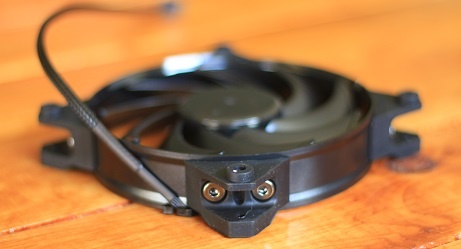
Each fan comes with a neatly braided four pin PWM cable and if your motherboard is limited with fan headers Cooler Master has included a braided splitter cable as well. If you have a keen eye you would have noticed the small switch lever at the center of each fan. Not sure why Cooler Master doesn’t make any noise on the matter, but it’s actually a fan speed controller. 3 settings are available; P=2500 RPM, Q=2000 RPM, S=1300 RPM and the factory setting is on Q. Given the location of this switch it’ll most likely be something you would setup during installation and not touch ever again. For our testing, we kept the setting on default which is Q.
Exclusive Pump Design
The last secret weapon of the MasterLiquid Pro 240 is its patented water pump design. In theory the design is pretty simple, even though much thought would have gone in during its actual development. Basically the pump has dual chambers one sitting on top of the other. Cool water pumps into the top compartment and hot liquid goes back out to the radiator for cooling. All vital components of the pump have been strategically placed on the top compartment which they claim to give it a 2.5x boost in life expectancy. In theory at least it makes sense and we have no reason to refute this claim.
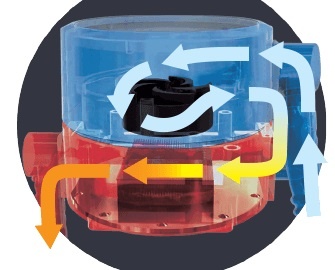
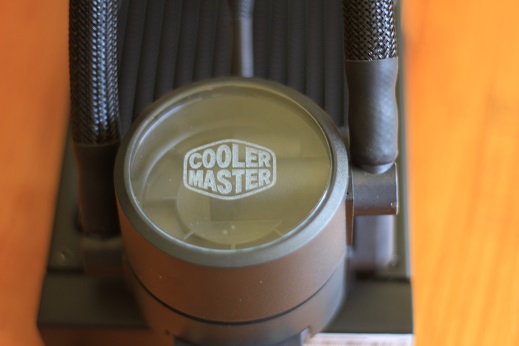
A unique feature of the pump is that unlike traditional AIO liquid coolers where water travels through a series of guided fins, this one would directly spray liquid into the center of the water block. This design feature has allowed Cooler Master to add more ultra-fine fins on the copper base, creating more surface area from which the coolant can move heat away. Overall they claim a 40% performance boost from this new design.

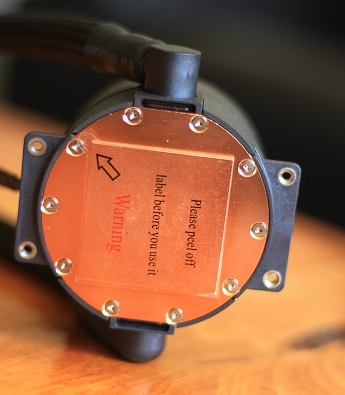
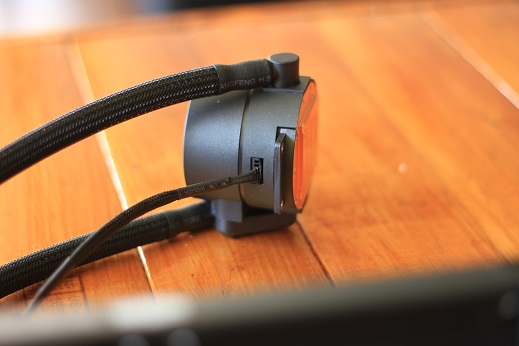
The copper base is very well constructed and smooth ensuring good contact with the CPU. A braided PWM cable is attached to the pump at the rear.
The MasterLiquid Pro 240 uses FEP tubing instead of the standard rubber tubes. FEP tubes are supposed to last longer and has less absorption properties than rubber.
Installation
Installing the kit wasn’t a difficult affair, but requires some patience and planning. There’s a rubber frame that goes over the radiator to which you install the fans. This further ensures no added vibration noises are produced during operation.
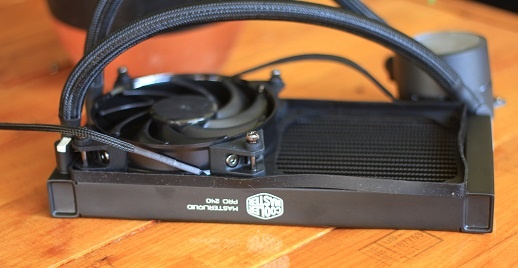
The length of the FEP tubing was more than adequate even if you planned to place the radiator at the bottom of the case. Ideally though you’d want to place the radiator unit towards the rear exhaust section of the case. Ones everything is connected and you turn on the PC, the MasterLiquid Pro 240 comes to life with a blue hue glowing from the pump. If your casing has a plexi glass the Cooler Master Logo will be clearly visible under the blue LED light, as well as the liquid flowing through the system. Overall we didn’t have any major issues to highlight during the installation process. It was pretty much faultless and kudos to Cooler Master for making this process effortless.
Alright time to see how well the MasterLiquid Pro 240 performs. Head on to the next section.
